Overview #
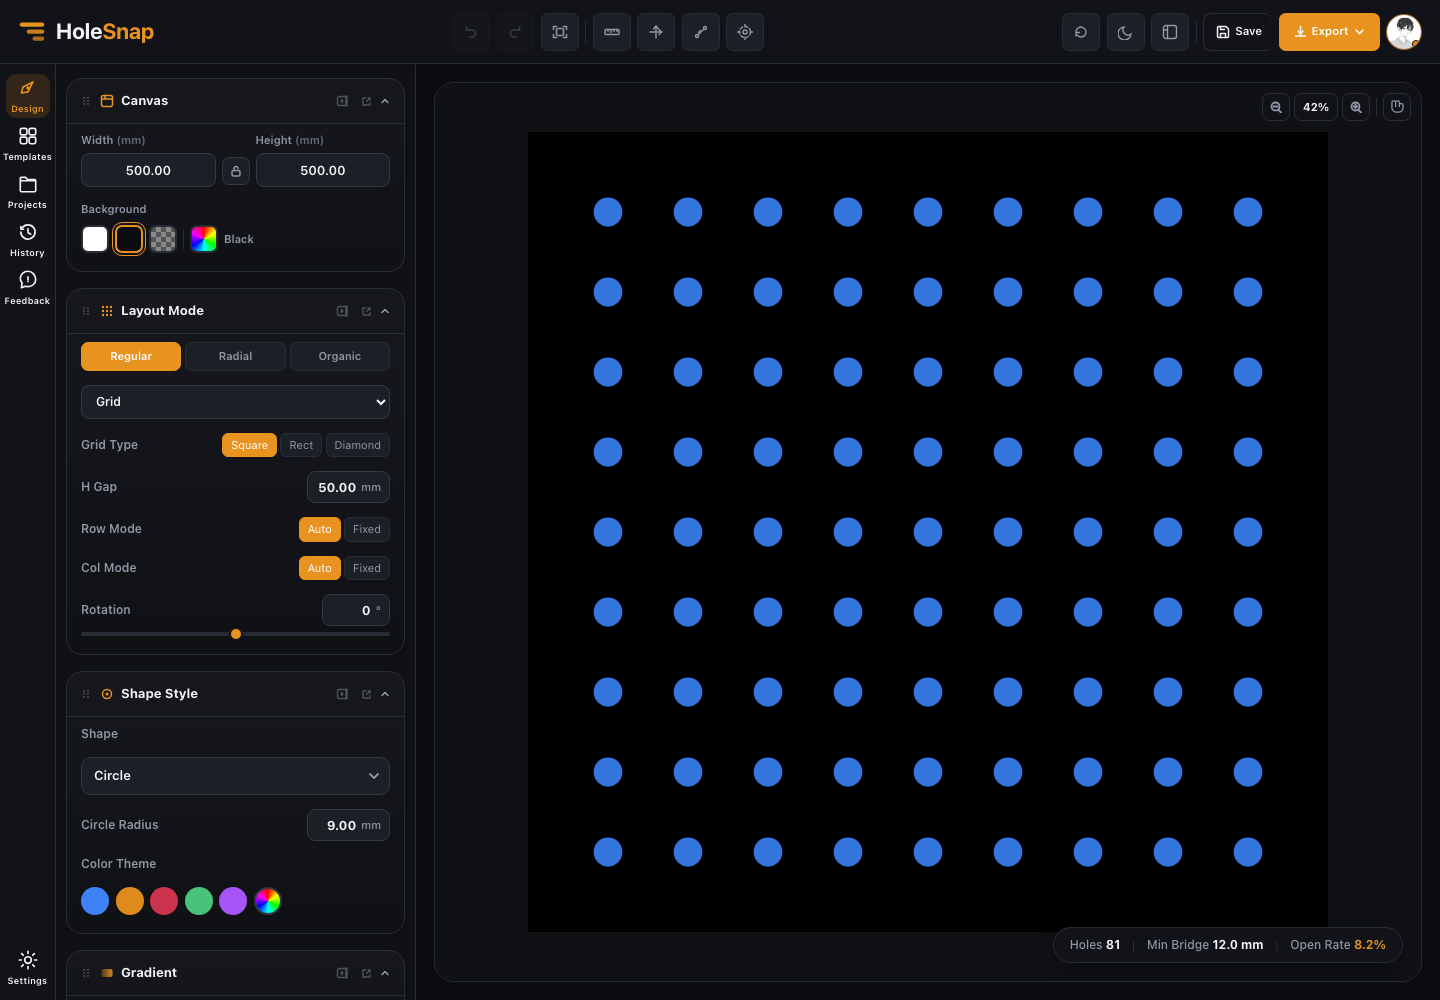
The canvas defines the size of your perforated panel and shows a live preview of the pattern. It is the foundation for layout, boundary, gradient, and export settings.

Canvas Size #
Set the panel width and height in the Canvas panel. These dimensions represent the working area of the design, usually in millimeters.
Changing the canvas size affects:
- The area where holes are generated.
- The boundary and trim region.
- The open-area calculation.
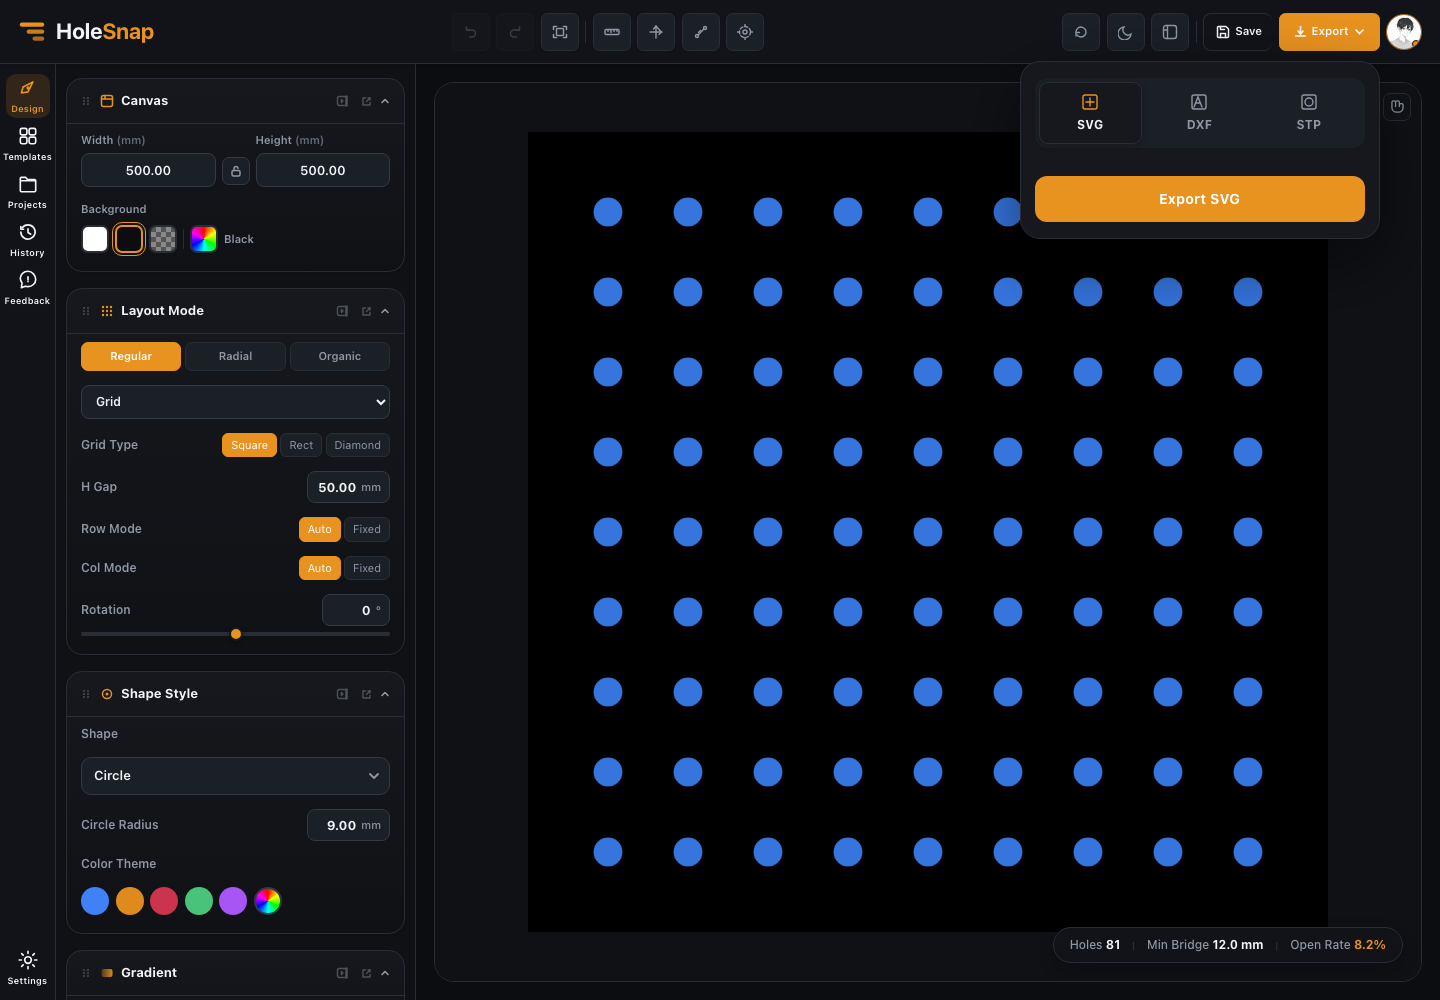
- The exported SVG, DXF, PNG, or STP scene.
- The way imported custom shapes or boundaries are centered and scaled.
Use the aspect lock if you want to resize the panel while keeping the same width-to-height ratio.
Background #
The background helps you preview contrast on the screen. You can use white, black, transparent, or a custom color.
For fabrication exports, treat the background as a preview setting unless your selected export option explicitly includes board or background geometry.
Zoom and Pan #
Use zoom and pan to inspect dense patterns, edge trimming, and small bridge areas.
Common controls:
- Mouse wheel: zoom in or out.
- Spacebar: temporarily pan the view.
- H key: switch pan mode.
- Fit view: return the design to a comfortable full-panel view.
Ruler, Axes, and Measurement #
The top bar includes view helpers for checking the design:
- Ruler: shows scale references around the panel.
- Axes: shows orientation and origin.
- Measurement: lets you inspect a distance directly on the preview.
- Controls: shows or hides interactive gradient controls.
Use these tools when you are checking alignment, margin, spacing, or a boundary.
Status Bar #
The status bar shows live design metrics:
- Hole count: the number of visible holes after layout, effects, and boundary rules.
- Open area: the estimated percentage of open material.
- Minimum bridge: the smallest estimated distance between neighboring holes.
These values are useful during design, especially when balancing airflow, visibility, strength, and cost.
Preview vs Export #
The canvas preview is optimized for interactive editing. Export files are generated from the current design state and may include additional export-specific rules, format limits, unit options, and geometry conversions.
Before fabrication, always open the exported file in CAD/CAM software and confirm:
- Scale and units.
- Board outline.
- Hole geometry.
- Trimmed edges.
- Layer or object structure.
- Minimum bridge and tool compatibility.
Practical Tips #
- Start with a simple canvas size before adding complex gradients or custom boundaries.
- Use a high-contrast background when inspecting small holes.
- Turn on rulers when checking margins.
- Watch the minimum bridge when reducing spacing or increasing hole size.
- Use fit view after large size changes so the full design is visible again.


