Perturbation and Displacement Effects #
Overview #
Perturbation and displacement effects change the pattern after the basic layout is generated. They are useful for making a panel feel more organic, dynamic, or directional.
Use these tools carefully. They can create beautiful patterns, but they can also reduce bridge width or make export geometry more complex.
Perturbation #
Perturbation adds controlled randomness to the pattern.
It can vary:
- Position.
- Size.
- Angle.
- Seed.
Use perturbation when a perfectly regular grid feels too mechanical.
Create a Perturbed Pattern #
- Start with a clean layout such as Grid, Hex, or Staggered.
- Open Perturbation.
- Turn on Enable Perturbation.
- Increase Position slightly to move holes away from the perfect grid.
- Increase Size if you want hole sizes to vary.
- Increase Angle for rotated shapes such as rectangles or slots.
- Set a Seed to make the random result repeatable.
Use small values first. Strong perturbation can cause holes to overlap or move too close to the boundary.
Perturbation Seed #
The seed controls the random result. If the seed stays the same, the pattern stays repeatable.
Use Reseed when you want a new version of the same idea.
Keep the seed if the design has already been reviewed or shared.
Displacement #
Displacement moves the whole pattern according to a larger effect field.
HoleSnap supports:
- Wave.
- Swirl.
- Twist.
These effects are different from random perturbation. They create directional or radial movement across the whole design.
Wave Displacement #
Wave displacement moves points in a wave pattern.
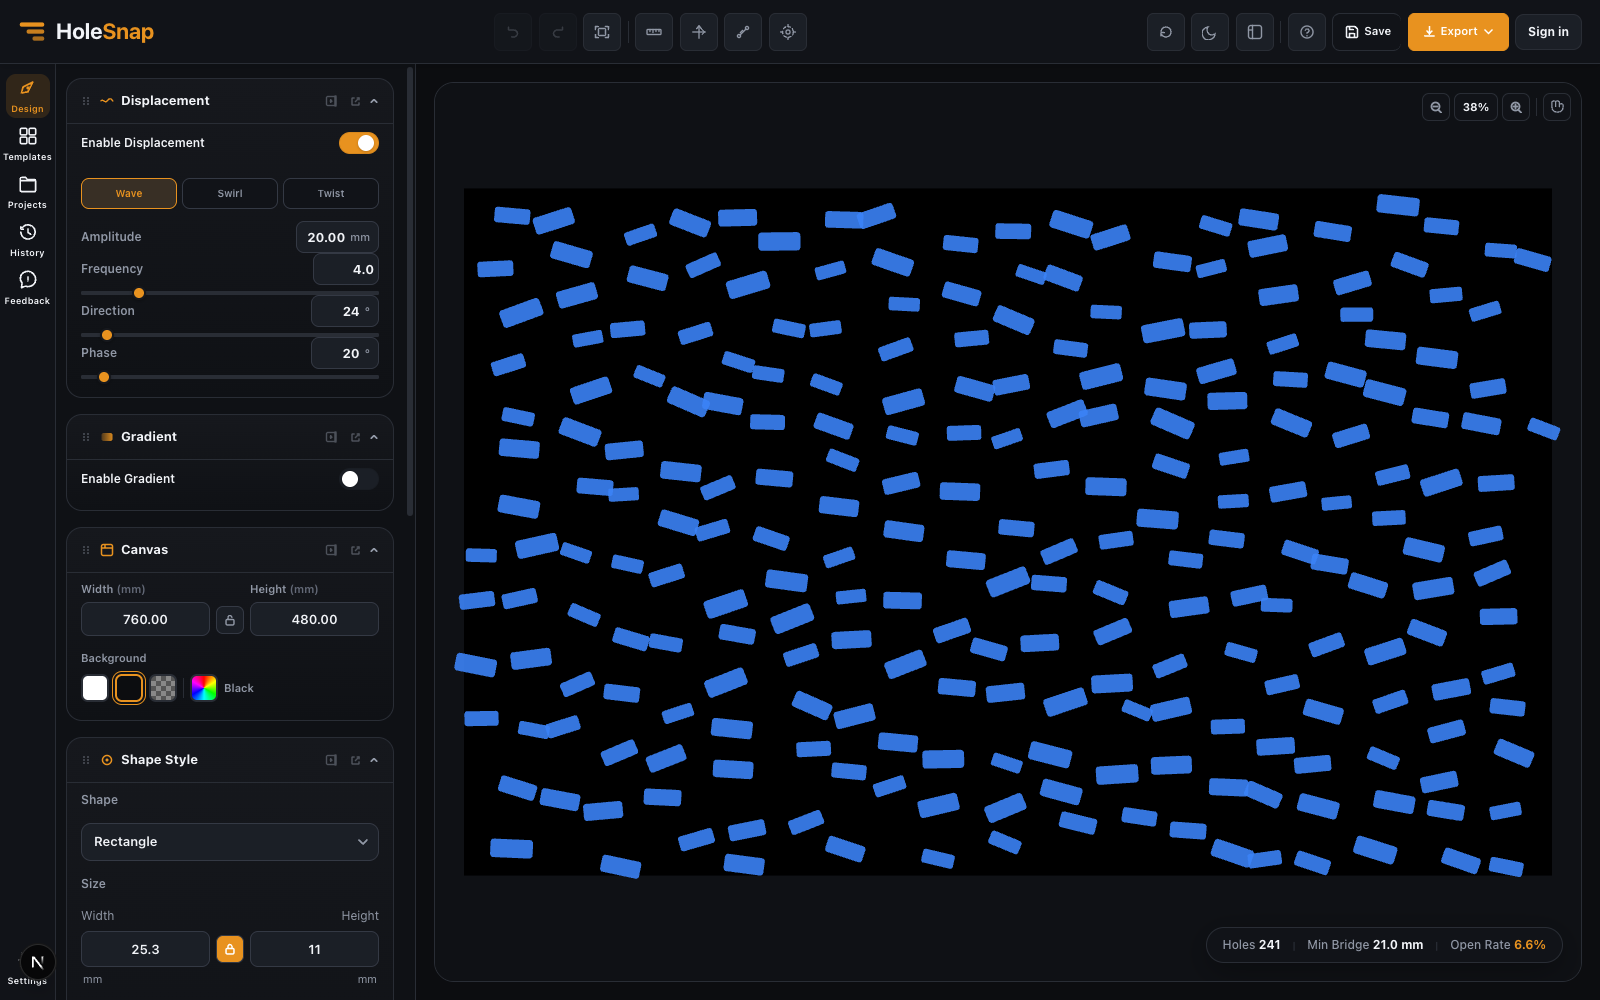
Controls include:
- Amplitude: how far the wave moves the points.
- Frequency: how many waves appear across the panel.
- Angle: wave direction.
- Phase: shifts the wave position.
Use wave displacement for flowing decorative panels, acoustic surfaces, or visual rhythm.
Swirl Displacement #
Swirl displacement rotates points around a center.
Controls include:
- Strength: how strong the swirl is.
- Radius: how far the swirl influence reaches.
- X / Y center: where the swirl center sits on the panel.
Use swirl displacement for circular motion, fan-inspired patterns, or focal decorative effects.
Twist Displacement #
Twist displacement rotates points around a center with a twist field.
Controls include:
- Strength: twist angle.
- X / Y center: center of the twist.
Use twist when you want a stronger radial motion than a normal rotation gradient.
Recommended Workflow #
- Build the base layout first.
- Add gradient controls if needed.
- Enable perturbation or displacement last.
- Keep values small at first.
- Check bridge width and boundaries before export.
Effects should be the final design layer, not the first step.
Fabrication Checks #
After applying perturbation or displacement, inspect:
- Overlapping holes.
- Minimum bridge width.
- Holes near trimmed edges.
- Very small holes from size variation.
- DXF complexity.
- Whether the design still matches the intended panel area.
If the pattern becomes too dense, reduce the effect strength, increase spacing, or lower the hole size.


