Skip to content
  • Editor
  • tools
    • Perforated Panel Designer
    • Image to Hole Pattern
    • SVG to DXF Converter
  • Blog
  • Support

Workspace

1
  • Workspace Overview: Top Bar, Sidebar, and Canvas

Templates

1
  • Use Templates to Start a Perforated Panel Design

Projects

1
  • Save and Reopen a HoleSnap Project

Canvas and Preview

2
  • How to Set Panel Size in Millimeters
  • Canvas and Preview

Hole Shape and Style

1
  • Choose a Hole Shape for Your Perforated Panel

Layout Settings

2
  • Layout Settings Overview
  • Grid Array| Create Perforated Patterns with Grid Array in HoleSnap

Getting Started

4
  • Key Editor Terms
  • Basic Perforated Panel Workflow
  • Editor Workspace Overview
  • Getting Started with HoleSnap

Gradient and Variation

7
  • Perturbation and Displacement Effects
  • Size Noise and Pattern Rules
  • Rotation and Shape Gradients
  • Density Gradient Guide
  • Gradient Control Points and Lines
  • Create a Size Gradient Pattern
  • Gradient and Variation Overview

Tools

1
  • Tools |Convert SVG to DXF
View Categories
  • Home
  • Support
  • Layout Settings
  • Layout Settings Overview

Layout Settings Overview

1 min read

Overview #

Layout settings control how holes are arranged across the panel. A good layout balances appearance, open area, bridge width, fabrication reliability, and file size.
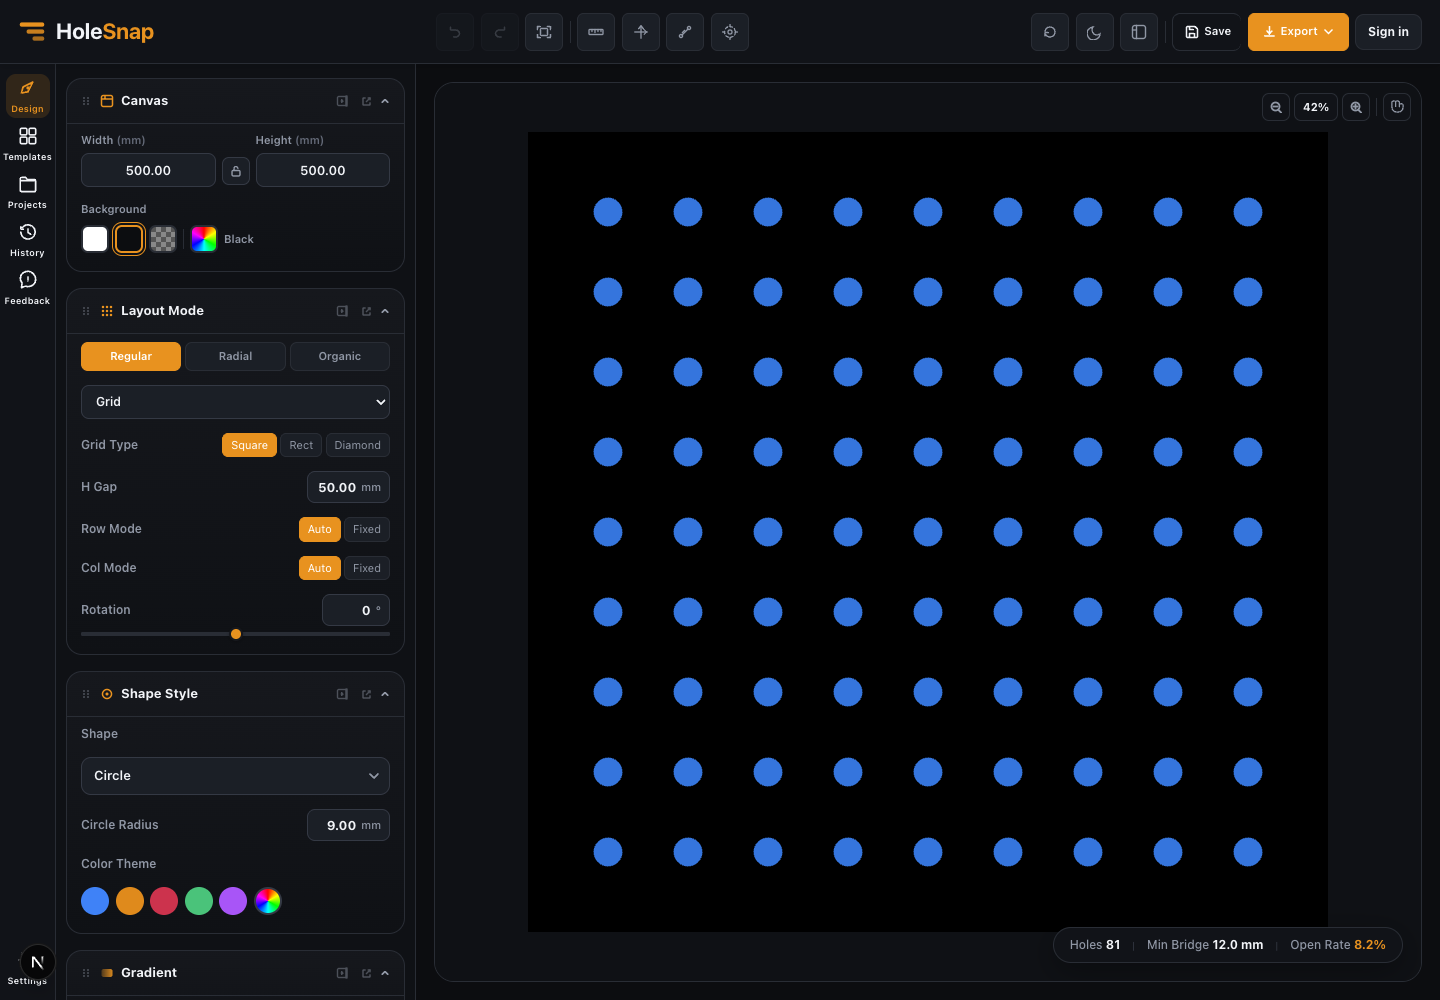
Layout settings panel with regular grid holes on the canvas

Regular Layouts #

Regular layouts are the best starting point for most users. They are easy to inspect and usually easier to fabricate.

Common regular layouts include:

  • Grid: rows and columns of holes.
  • Hex: tighter visual packing with a honeycomb-like rhythm.
  • Staggered: offset rows for a classic perforated sheet look.
  • Along bounds: holes follow the usable boundary area.
  • Cross-line: directional arrangement for visual or functional patterns.

Radial Layouts #

Radial layouts arrange holes around a center point. They are useful for fan grilles, speaker covers, circular vents, decorative discs, and product details.

Use radial layouts when the design needs a center-based structure rather than a rectangular grid.

Organic Layouts #

Organic layouts create less mechanical patterns. They are useful for decorative panels, brand visuals, and more natural-looking perforation fields.

Because organic layouts can vary spacing more strongly, check minimum bridge before exporting.

Spacing and Count #

Spacing controls the distance between holes. Smaller spacing increases open area but reduces bridge width. Larger spacing improves strength but can reduce airflow and visual density.

Use automatic row and column modes when you want the editor to fit the pattern to the canvas. Use fixed values when the design must match a specific count.

Rotation #

Layout rotation changes the direction of the overall pattern. It is useful for diamond grids, diagonal patterns, or aligning holes with a product design direction.

Practical Recommendation #

Start with Grid, Hex, or Staggered. Adjust spacing while watching open rate and minimum bridge. Use radial or organic layouts only after the base workflow feels clear.

Updated on May 5, 2026

What are your Feelings

  • Happy
  • Normal
  • Sad

Share This Article :

  • Facebook
  • X
  • LinkedIn
  • Pinterest
Grid Array| Create Perforated Patterns with Grid Array in HoleSnapGrid Array| Create Perforated Patterns with Grid Array in HoleSnap

Powered by BetterDocs

Table of Contents
  • Overview
  • Regular Layouts
  • Radial Layouts
  • Organic Layouts
  • Spacing and Count
  • Rotation
  • Practical Recommendation

Create Cleaner Perforated Panel Files

Use HoleSnap to generate accurate perforated panel DXF files online, then come back here whenever you need design guidance, fabrication tips, or answers.

© 2026 Bruno Guevara All Rights Reserved

Pinterest
  • English