The HoleSnap editor is organized around a live canvas and a set of focused control panels. The goal is to let you change the pattern and immediately see the result.
Workspace Areas #
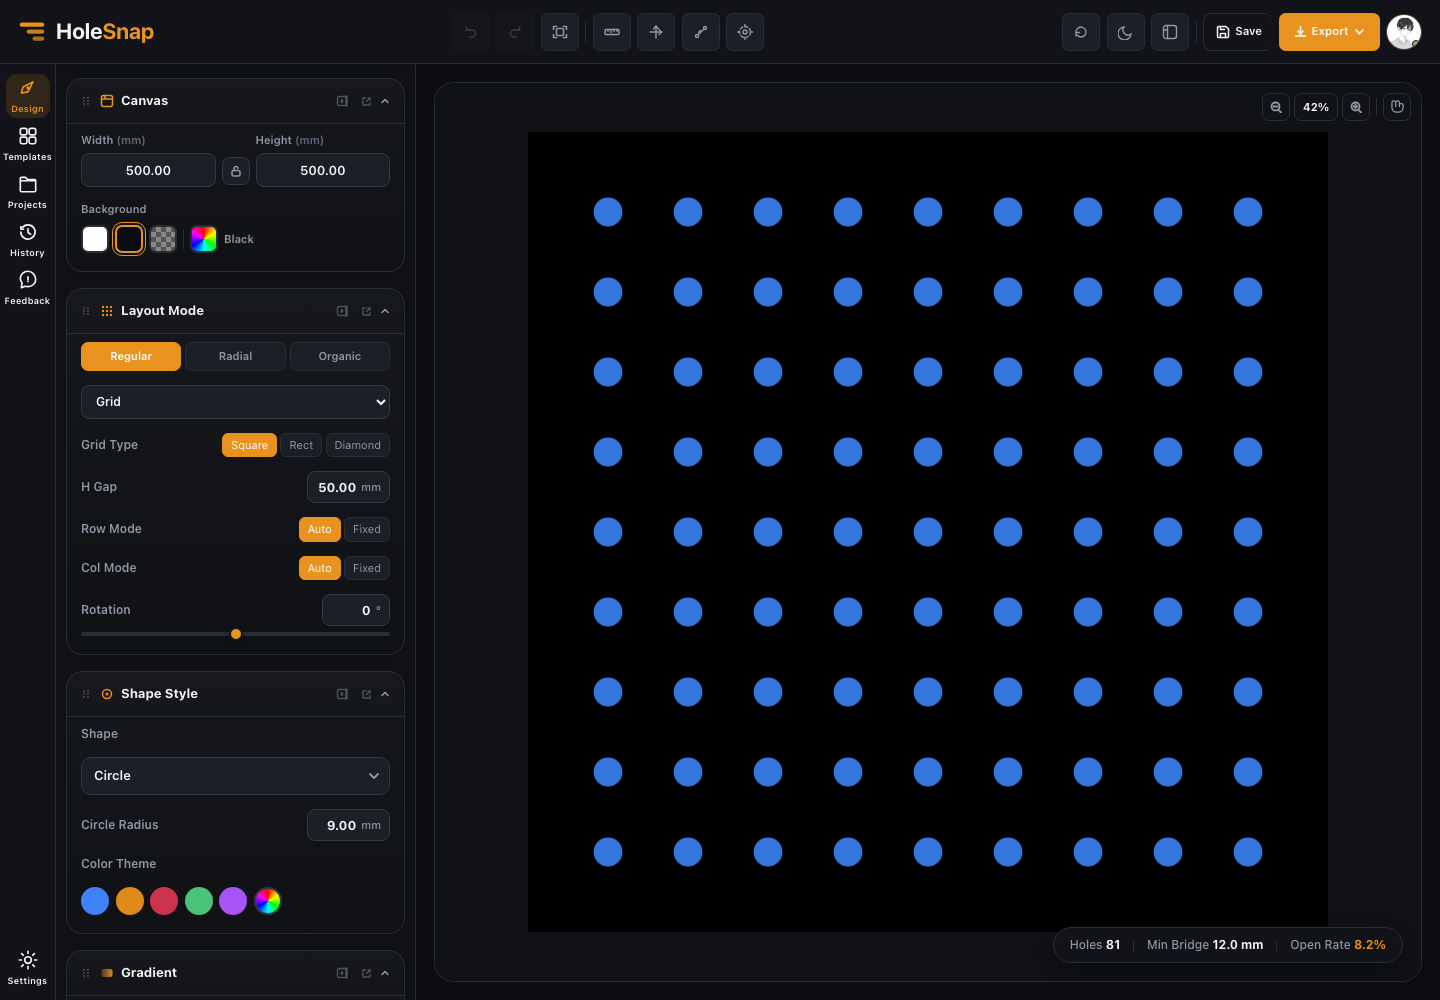
The editor has five main areas:
- Top bar
- Left sidebar
- Parameter panels
- Canvas preview
- Status bar
Each area has a specific role in the design workflow.
Top Bar #
The top bar contains global actions and view controls.
Use it to:
- Undo or redo changes.
- Save or update a project.
- Open export options.
- Toggle view helpers such as ruler, axes, measurement, and control points.
- Change theme.
- Reset the editor layout.
- Access account and membership actions.
The Export button is where you create SVG, DXF, PNG, or STP/STEP files.
Left Sidebar #
The left sidebar is the main navigation for editor modes.
Typical entries include:
- Design: adjust canvas, shape, layout, gradient, boundary, displacement, and perturbation.
- Templates: start from a reusable pattern.
- Projects: load, save, rename, or delete projects.
- History: review undo/redo and snapshot-related work.
- Settings: change editor preferences.
Use the Design section for most pattern creation work.
Parameter Panels #
Parameter panels control the actual design.

Important panels include:
- Canvas: panel size and background.
- Shape: hole type, size, proportion, rotation, and custom shape.
- Layout: how holes are arranged.
- Gradient: variable size, rotation, shape, or density.
- Boundary: trim or hide holes inside a rectangle, circle, or custom outline.
- Displacement: wave, swirl, or twist effects.
- Perturbation: controlled random variation.
Changes update the preview as you work.
Canvas Preview #
The center canvas shows the current perforated pattern.
Use it to:
- Inspect hole spacing.
- Check the edges of the pattern.
- Evaluate density and visual balance.
- Drag gradient controls when enabled.
- Use ruler, axes, and measurement tools.
- Zoom and pan around dense or detailed areas.
The preview is interactive and designed for fast editing. Final production checks should still happen in CAD/CAM software after export.
Status Bar #
The status bar shows live metrics:
- Hole count
- Open area
- Minimum bridge
These indicators help you understand whether the design is becoming too dense, too sparse, or potentially difficult to manufacture.
A Simple Way to Navigate #
For most designs, move through the editor in this order:
- Canvas
- Shape
- Layout
- Boundary
- Gradient or effects
- Export
You do not need to use every panel. Many production-ready files only need canvas, shape, layout, and export settings.
Tips for New Users #
- Start with fewer controls and add complexity later.
- Keep the status bar visible while changing size or spacing.
- Use fit view after changing the canvas size.
- Turn on ruler or measurement when checking margins.
- Save a project before experimenting with complex gradients or custom paths.


