
Convert SVG to DXF Online for Laser Cutting
A practical guide to converting SVG files into DXF online for laser cutting, with scale checks, geometry cleanup, and export settings.
Need to turn an SVG into a DXF for laser cutting or CNC? SVG is convenient for creating artwork, patterns, brackets, panels, and product outlines, while many fabrication workflows still prefer DXF.
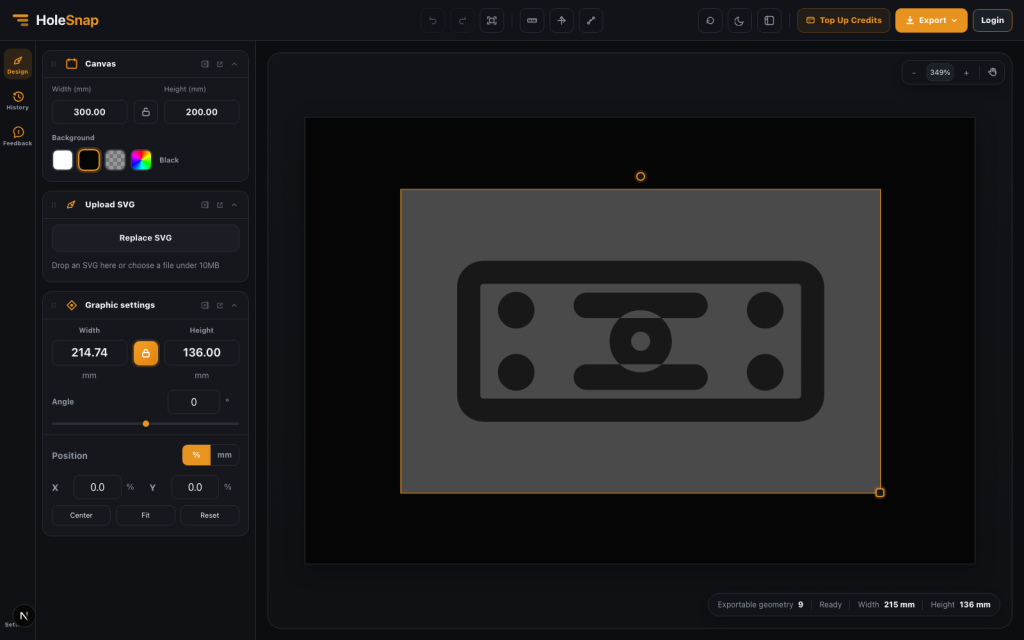
That is where an online SVG to DXF converter becomes useful. Instead of opening a full CAD program just to check scale, adjust size, and export a DXF, you can upload the SVG into HoleSnap’s SVG to DXF Workbench, inspect the geometry, and prepare a file for CAD/CAM review.
Use this guide when you want the complete path from SVG upload to a DXF that is ready for a downstream CAD/CAM check.
For a shorter route, use How to Convert SVG to DXF Without CAD Software. For troubleshooting an incomplete import, use SVG to DXF Converter Online for Clean Cut Files.
Why Convert SVG to DXF?
SVG is excellent for design and web graphics. It is also common in tools like Illustrator, Figma, Inkscape, Affinity Designer, and browser-based vector editors.
DXF is more common in fabrication workflows. Laser cutting services, CNC operators, sheet metal shops, and CAD programs often expect geometry in DXF because it maps more directly to cut paths, outlines, holes, and machine-readable vectors.
Converting SVG to DXF is useful for:
- Laser cut brackets and panels
- Decorative screens
- CNC router templates
- Acrylic signs
- Enclosure cutouts
- Maker projects
- Product prototypes
- Vector patterns that need CAD review
Step 1: Upload Your SVG
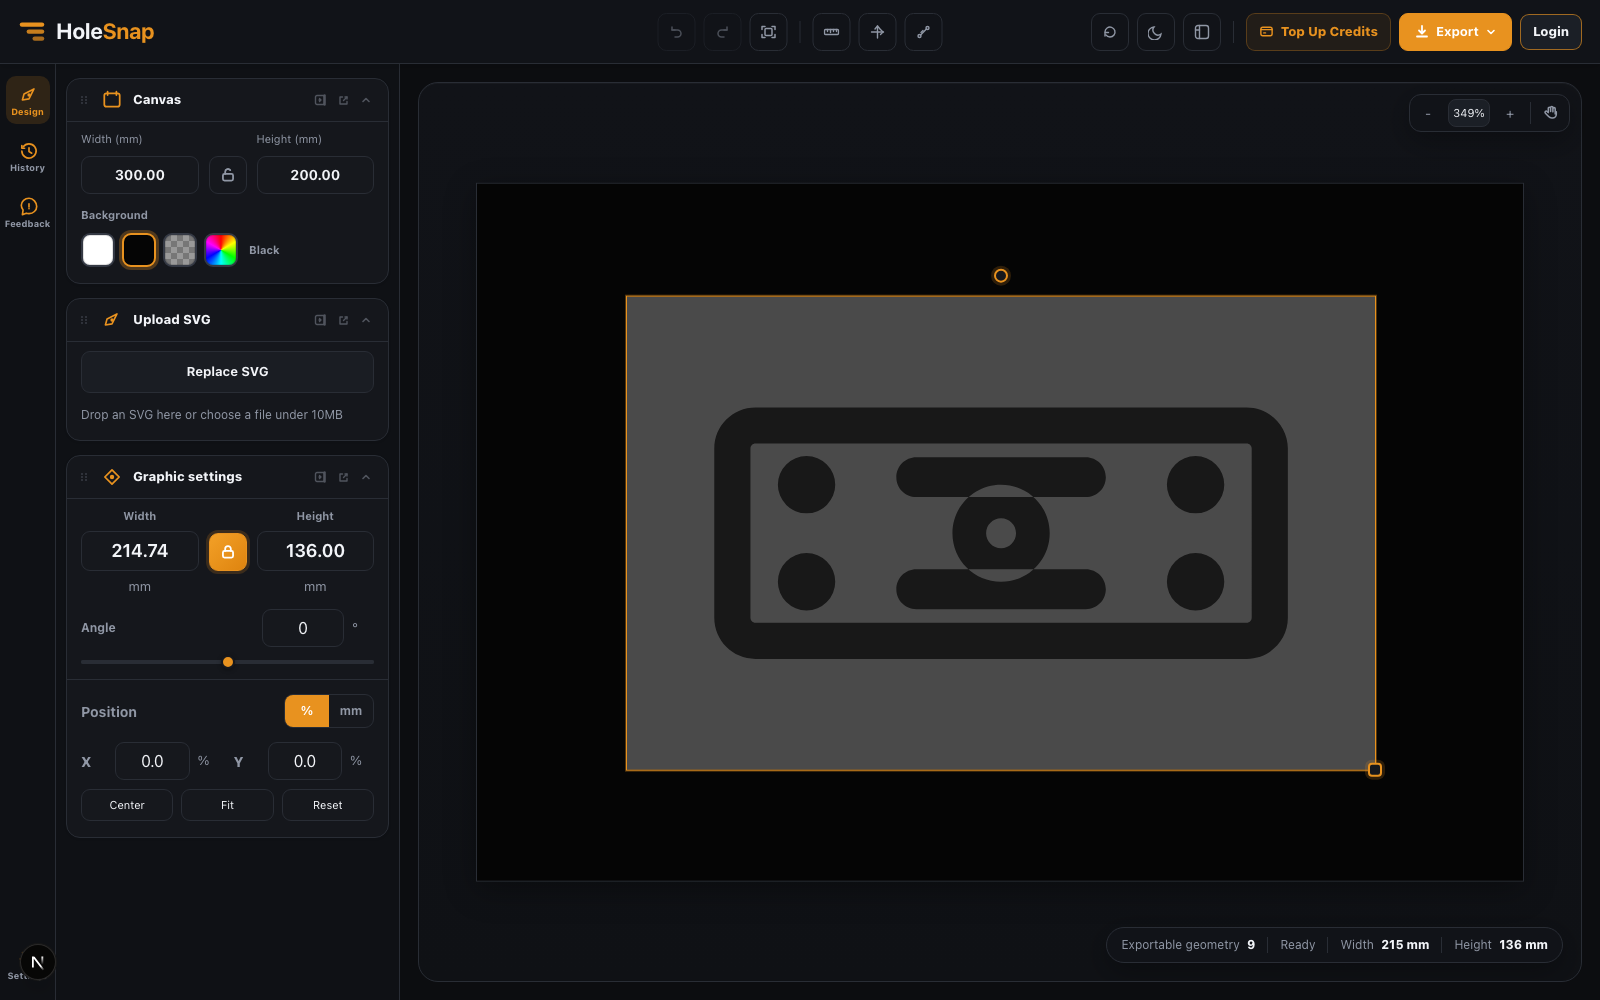
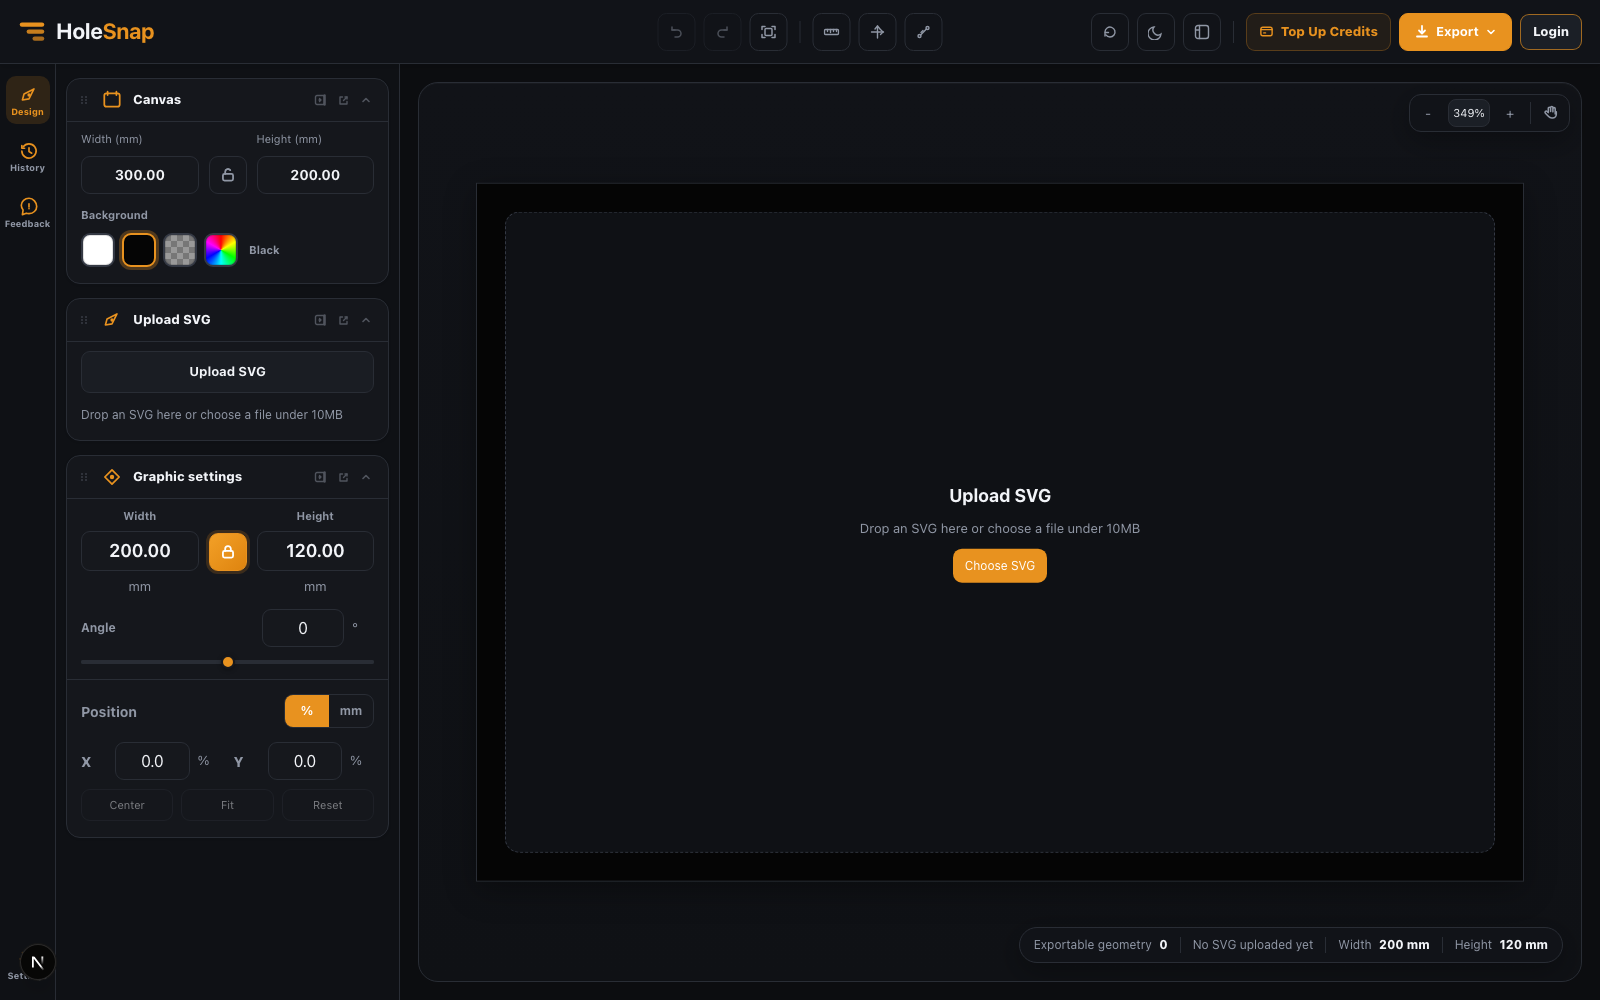
Open the SVG to DXF Workbench and upload one SVG file. The tool accepts SVG files under 10MB and parses supported vector geometry from the file.
For best results, use an SVG that already contains actual vector paths or basic shapes. The converter recognizes common geometry such as:
pathrectcircleellipsepolygonpolylineline
Visual-only SVG effects are not reliable for DXF fabrication. Text, embedded images, filters, masks, gradients, and similar effects should be expanded or simplified before export.
Step 2: Check the Parsed Geometry
After upload, the workbench shows the imported SVG on a millimeter-based canvas. The bottom status bar reports Exportable geometry, Ready, and the current Width and Height.
This step is important because an SVG preview can look correct while the underlying geometry is not suitable for a cut-path workflow. For example, a logo might contain text objects, masks, or visual effects that look fine in a browser but do not translate into clean paths.
If the recognized geometry count is lower than expected, go back to your vector editor and convert text or other visual-only elements into paths before exporting the SVG again.
Step 3: Set the Canvas Size in Millimeters
The canvas controls help you define the working area in real fabrication units. For laser cutting, this is much easier than guessing pixel-to-millimeter conversion later.
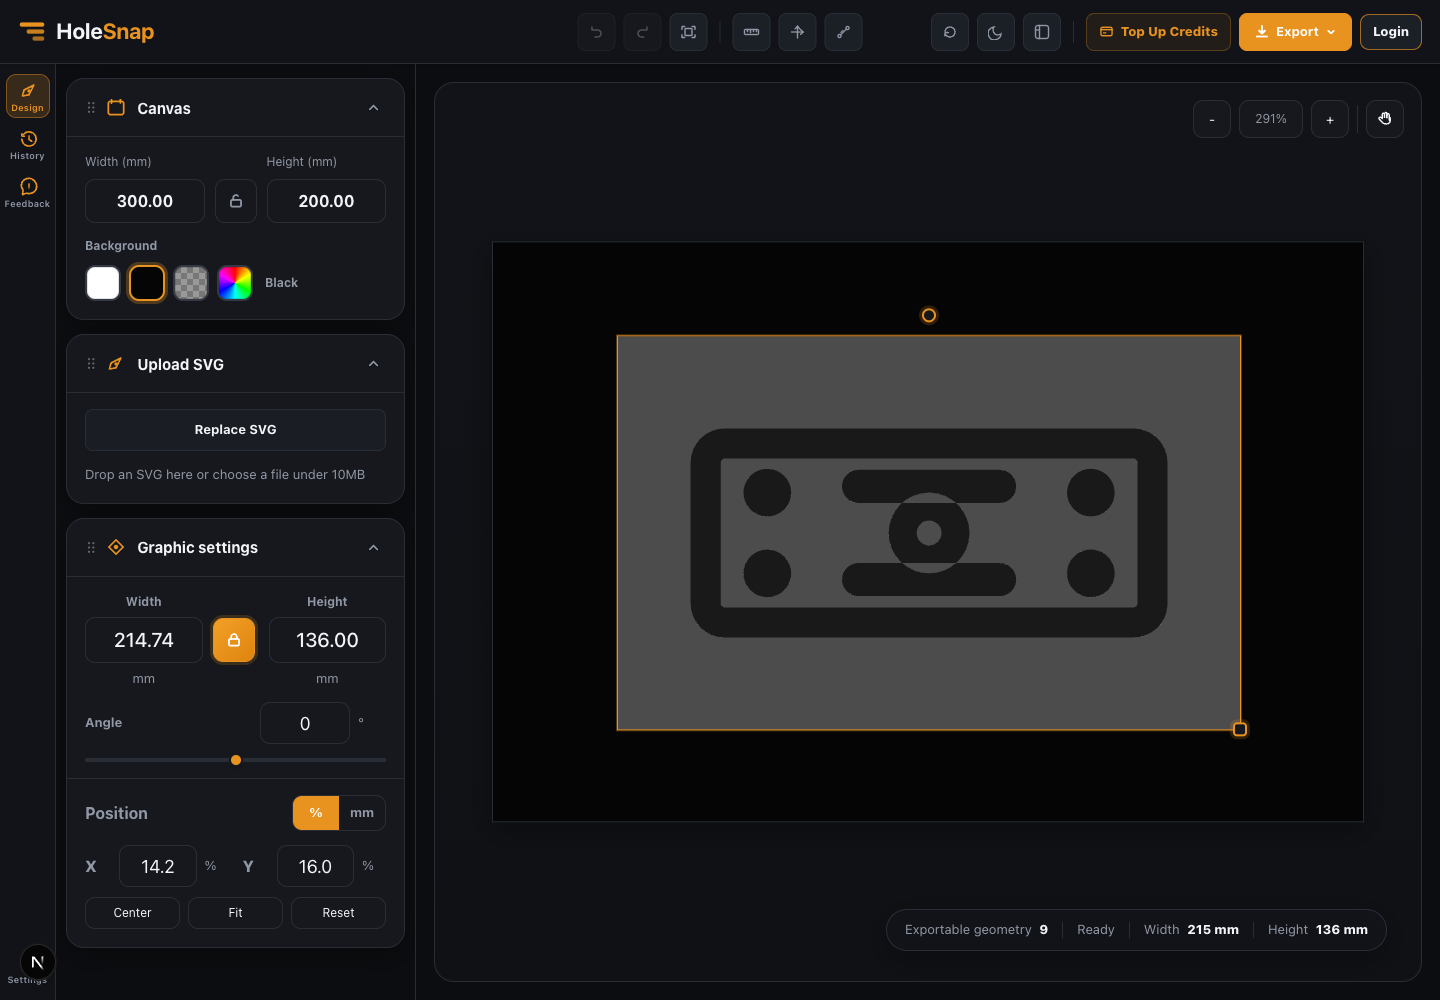
In the Canvas card, set Width (mm) and Height (mm) to match your intended sheet, part, or panel size. The lock control helps preserve the canvas ratio while resizing.
Typical examples:
- A small product label might use a 120 x 60 mm canvas.
- A laser cut bracket might use a 300 x 200 mm canvas.
- A decorative panel might use a 600 x 400 mm canvas.
- A CNC template might use the exact stock material dimensions.
Step 4: Adjust the Graphic Size, Position, and Rotation
The Graphic settings panel controls the imported SVG separately from the canvas. Set Width, Height, Angle, and Position before exporting. Use Center, Fit, or Reset when you need a quick placement change.
This is helpful when the source SVG was created at an arbitrary pixel size. Instead of editing the file manually, you can fit the design to a precise millimeter size inside the workbench.
Use these controls when you need to:
- Resize an SVG to match a target part dimension
- Center the design on the canvas
- Rotate a bracket, logo, or decorative pattern
- Fit artwork inside a material boundary
- Preserve aspect ratio while scaling
For fabrication, always measure a known feature after export in your CAD/CAM software. The online workbench helps set the intended size, but final verification should happen before cutting material.
Step 5: Use Rulers and Axes for Inspection
The workbench includes ruler and axis tools so you can inspect placement visually. This is useful when you need a quick check before downloading the DXF.
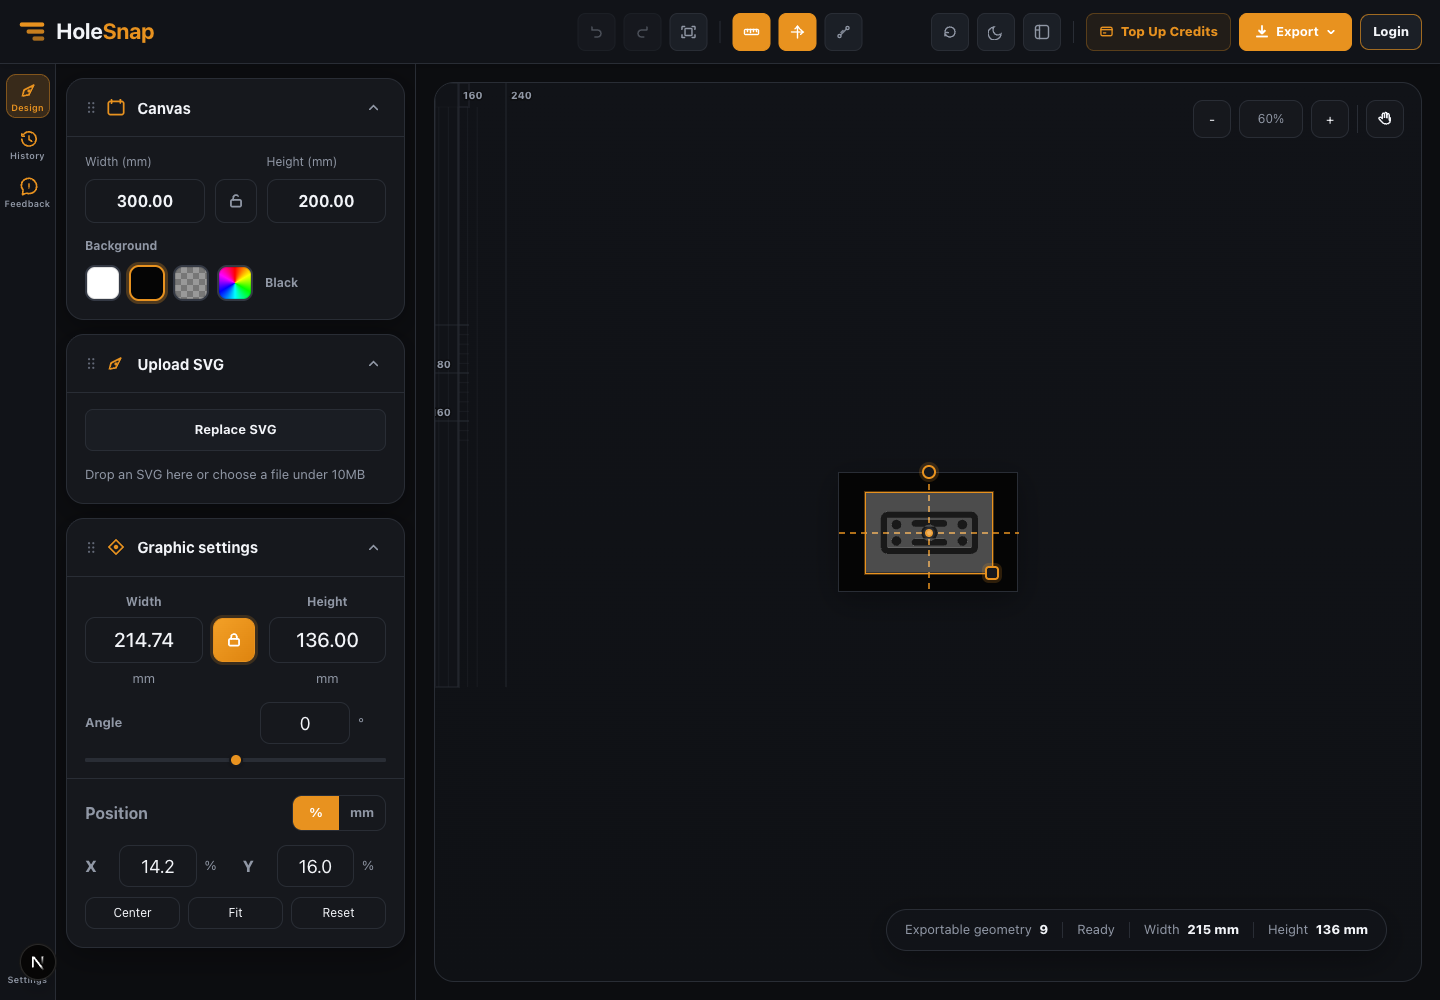
Use the ruler view to check:
- Whether the SVG sits inside the panel boundary
- Whether the design is centered
- Whether the part is approximately the expected size
- Whether holes and slots are located where you expect
- Whether rotation or scaling has shifted the drawing
For production jobs, this visual check can catch simple mistakes before they become wasted material.
Step 6: Export SVG or DXF
When the file looks correct, open Export and choose DXF. The workbench also keeps SVG export available when you want a cleaned or adjusted vector file. If the workbench asks you to sign in, complete that before starting the export.
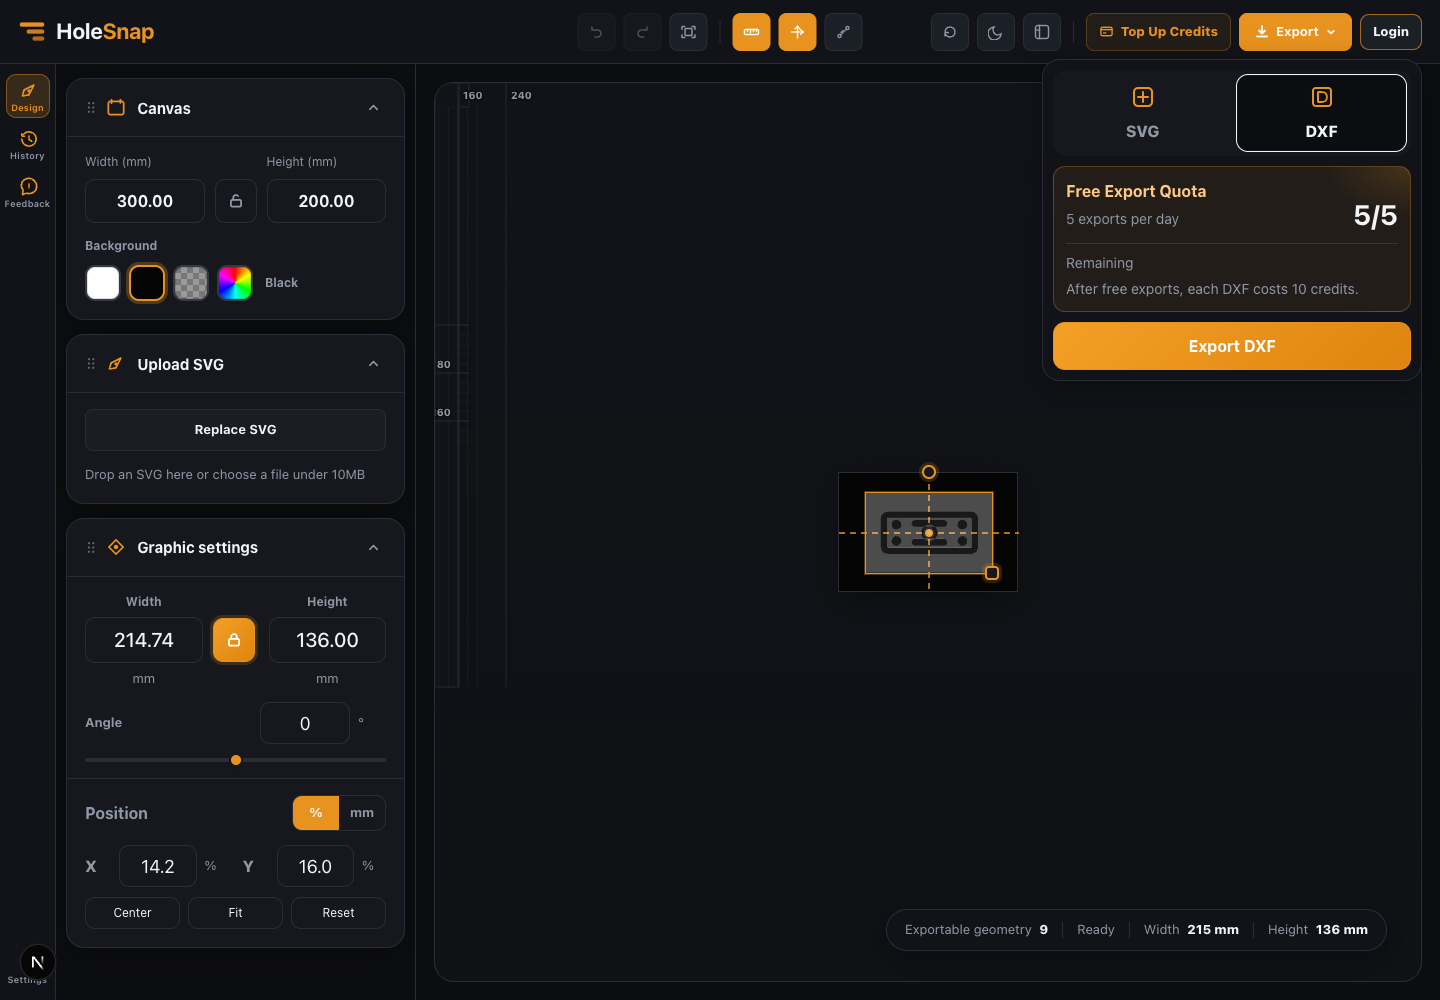
The exported DXF is intended for CAD/CAM review, laser cutting preparation, CNC workflows, and fabrication handoff. Before sending it to a shop, open the DXF in your production software and check scale, units, duplicate geometry, closed paths, and cutting order.
Final Thoughts
Converting SVG to DXF does not have to require a full CAD setup. If your SVG contains clean vector geometry, HoleSnap’s SVG to DXF Workbench gives you a faster path: upload the file, check supported geometry, size it in millimeters, inspect the canvas, and export DXF.
Use it when you need a quick online workflow for laser-cut panels, brackets, signs, maker parts, and vector patterns that need to move from design software into CAD/CAM.
Try the tool here: SVG to DXF Workbench