
Image to Perforation: Turn Logos and Photos into Laser-Cut Patterns
Learn how HoleSnap's Image to Perforation tool converts logos, icons, and photos into perforated panel patterns for SVG and DXF export.
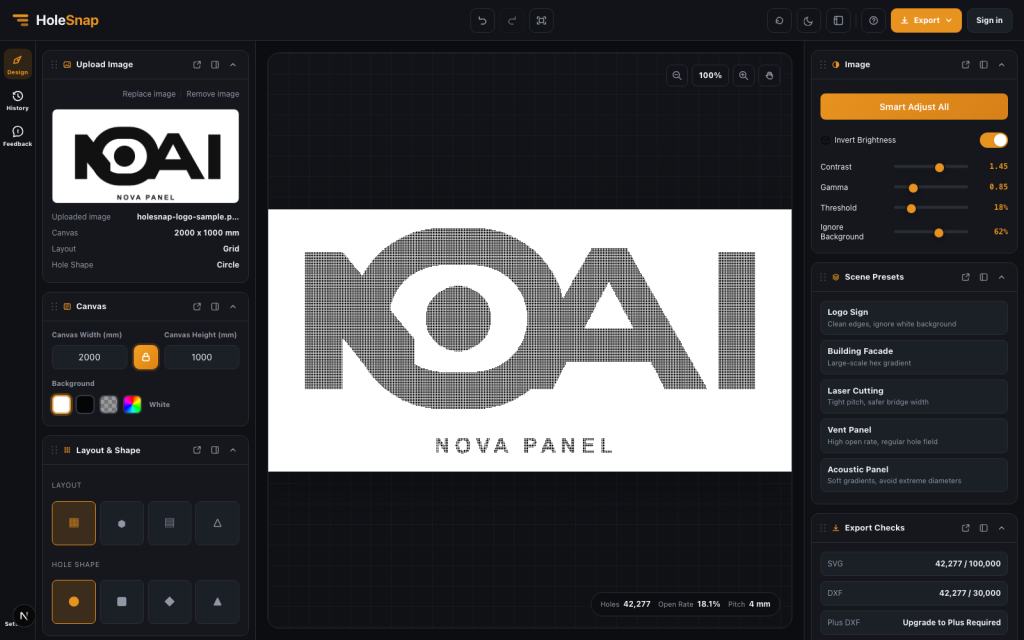
Perforated panels do not have to be limited to simple grids. With an image-based workflow, a logo, icon, illustration, or high-contrast photo can become a vector pattern for further editing, laser-cut preparation, CNC planning, or decorative panel design.
HoleSnap’s Image to Perforation tool turns image brightness into variable hole sizes. Light and dark areas become different perforation values, so the image is recreated as a field of circles, squares, diamonds, triangles, or dense layout patterns.
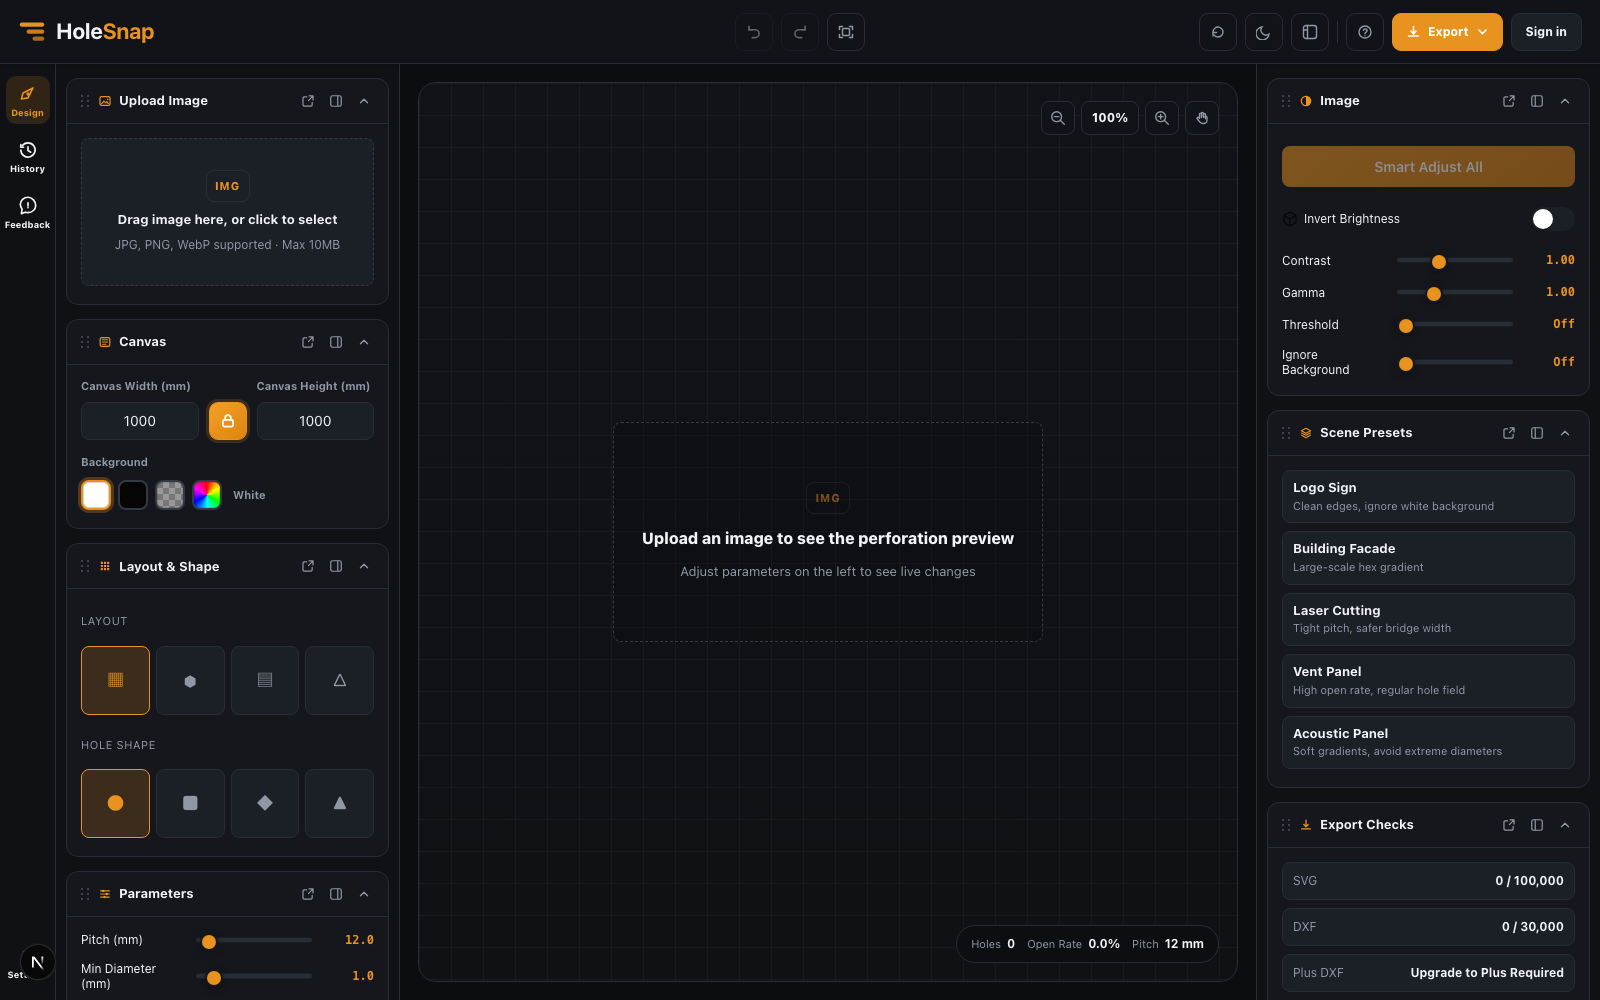
What Image to Perforation Does
The tool starts with a simple idea: upload an image, then convert pixel brightness into hole diameter. Instead of drawing hundreds or thousands of holes by hand, the tool samples the image and generates a perforated pattern automatically.
This is useful for:
- Logo signs
- Decorative metal panels
- Laser-cut wall art
- Product enclosure graphics
- Architectural screen studies
- Maker projects
- Acoustic and ventilation panels with a visual motif
The result can be used as a visual preview, exported as PNG for documentation, exported as SVG for vector editing, or exported as DXF for CAD/CAM review.
Upload a Logo, Icon, or Photo
Start by uploading a JPG, PNG, or WebP image under 10MB. High-contrast artwork usually produces the cleanest result. Logos, silhouettes, icons, bold typography, and simple illustrations are especially good starting points.
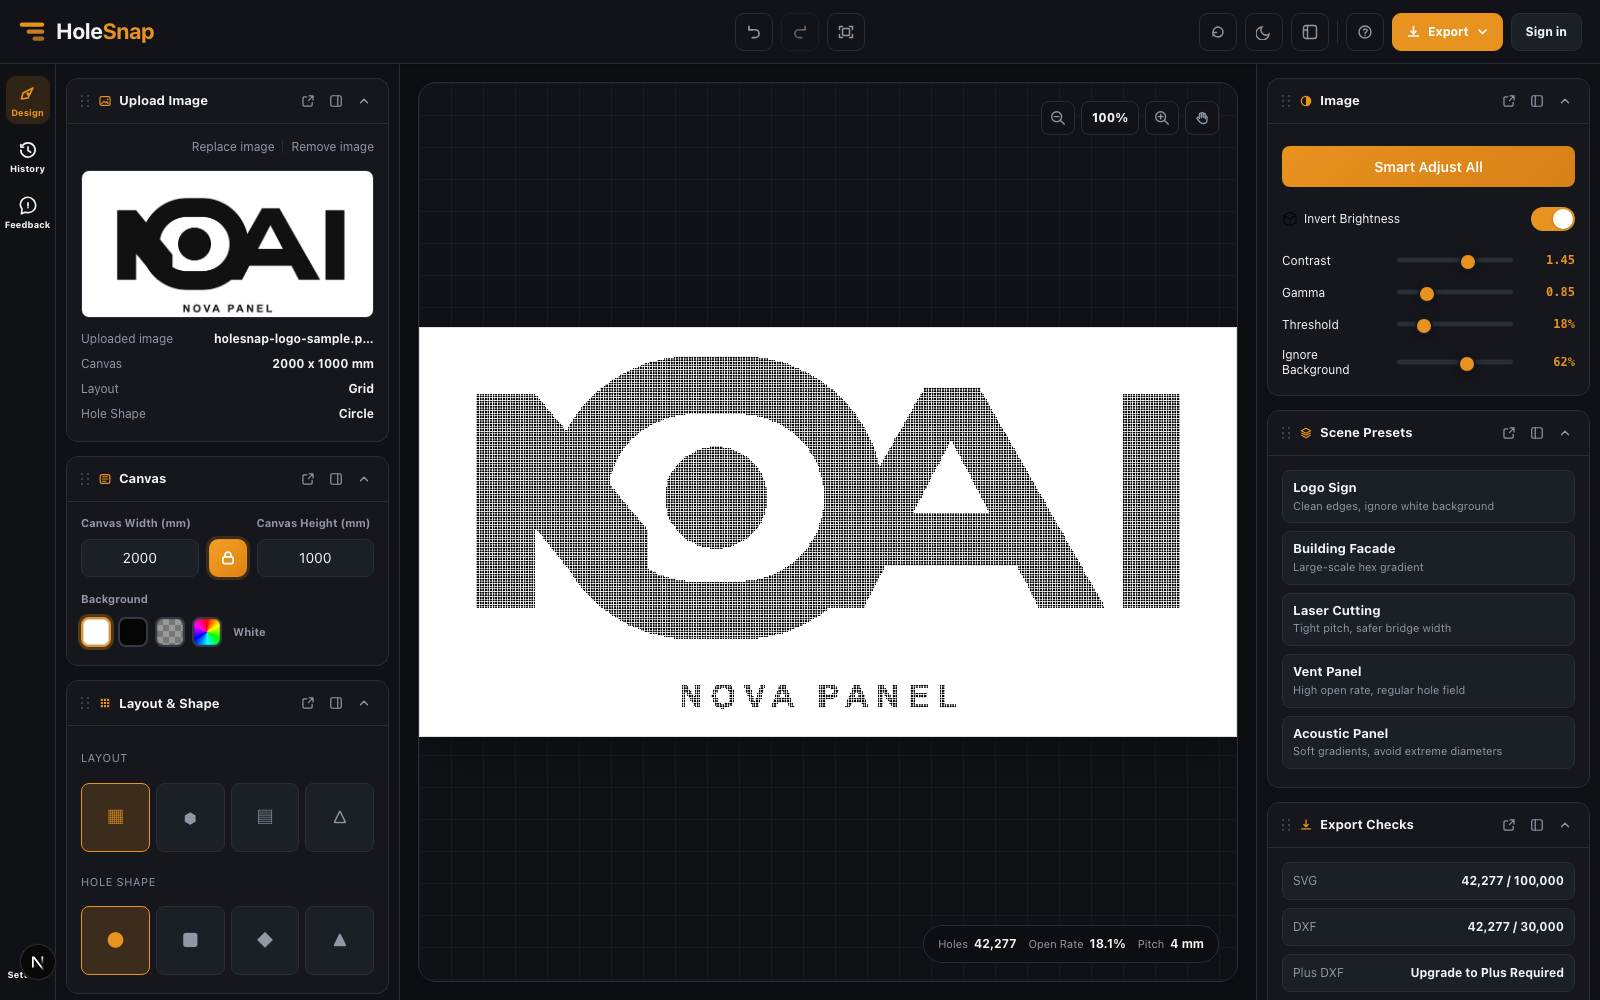
After upload, HoleSnap analyzes the image and generates a live perforation preview. The Canvas, Layout & Shape, and Parameters cards let you refine the result, while the Image card contains brightness and background controls.
Use Scene Presets to Start Faster
Image-based perforation can be tuned for different jobs. A logo sign needs clean edges. A facade pattern may need a larger canvas and a softer gradient. A laser-cut panel needs safer bridge widths. A ventilation panel may prioritize higher open area.
Open Scene Presets to start from a use case such as:
- Logo Sign
- Building Facade
- Laser Cutting
- Vent Panel
- Acoustic Panel
These presets give you a better starting point before you fine-tune pitch, diameter, contrast, gamma, threshold, and background ignore.
Tune Pitch and Hole Diameter
Pitch controls the distance between hole centers. Smaller pitch creates more detail and more holes. Larger pitch creates a simpler, more fabrication-friendly pattern.
Minimum and maximum diameter control how strongly the image appears. A wide diameter range creates more contrast. A narrow range creates a softer, more subtle panel.
The preview status bar gives you three immediate values:
- Hole count
- Open rate
- Pitch
For fabrication planning, also record the canvas size, material thickness, and fabrication method. The workbench does not currently display a Minimum Bridge metric. For a simple conservative estimate, subtract the maximum hole diameter from the pitch. Confirm the narrowest bridge again in the exported SVG/DXF or in the Open Area Calculator.
Check:
- Estimated minimum bridge width
- Material thickness
- Fabrication method
For laser cutting, avoid extremely tiny bridges. For CNC punching, use hole sizes that match tooling or process limits. For decorative panels, check the pattern from both close-up and viewing distance.
Choose Layout and Hole Shape
In Layout & Shape, the same image can feel very different depending on layout and shape. A grid layout is clean and easy to inspect. A honeycomb or hex-style layout can feel more technical and dense. Staggered and triangular arrangements can help create a more continuous visual tone.
Hole shapes also change the result. Circles are safe and familiar. Squares and diamonds can make the image feel more graphic. Triangles create a sharper visual texture.
Export PNG, SVG, or DXF
The Export menu is built directly into the preview workspace. The Export Checks card shows the SVG and DXF hole limits before you start an export.
Use PNG when you need a quick image for review or documentation. Use SVG when you want a vector file for editing in design tools. Use DXF when the pattern needs to move into CAD/CAM or laser-cut preparation.
Before fabrication, always open the exported file in your target CAD/CAM software and confirm scale, units, recognized holes, minimum spacing, edge distance, and bridge width.
Best Images for Perforation
The best input images usually have:
- Clear contrast
- Simple shapes
- Strong silhouettes
- Limited noise
- Clean edges
- A subject separated from the background
Photos can work too, but they often need more tuning. Use contrast, gamma, threshold, and background ignore to make the image easier to read as holes.
Final Thoughts
Image to Perforation makes it much faster to explore logo-based panels, decorative screens, and laser-cut artwork. Instead of manually tracing an image and building hole arrays in CAD, you can upload the image, adjust the parameters, preview the perforated result, and export a file for the next design or fabrication step.
For best results, start with a high-contrast image, use a preset close to your use case, then tune pitch and diameter until the panel balances image clarity with the limits of your material and process.