Makers and product designers often start with SVG because it is fast, flexible, and easy to edit. You might draw a fan cover, enclosure cutout, front panel, logo plate, mounting bracket, or decorative screen in a vector design tool. But when it is time to cut the part, the production workflow often asks for DXF.
HoleSnap’s SVG to DXF Workbench is designed for that handoff. It gives you a focused online workspace for uploading SVG, checking exportable geometry, adjusting real-world dimensions, and downloading DXF.
 A Focused Workspace for Fabrication Files
The workbench is not a general-purpose drawing app. It is intentionally focused on the conversion stage between vector design and fabrication.
That makes it useful when you already have an SVG and need to answer practical questions:
- Did the SVG import as real vector geometry?
- Is the size correct in millimeters?
- Is the drawing centered on the material?
- Are visual effects being ignored?
- Can I export a DXF quickly without opening CAD?
For small jobs, this can save time. For larger jobs, it gives you a quick preflight step before the file goes into CAD/CAM software.
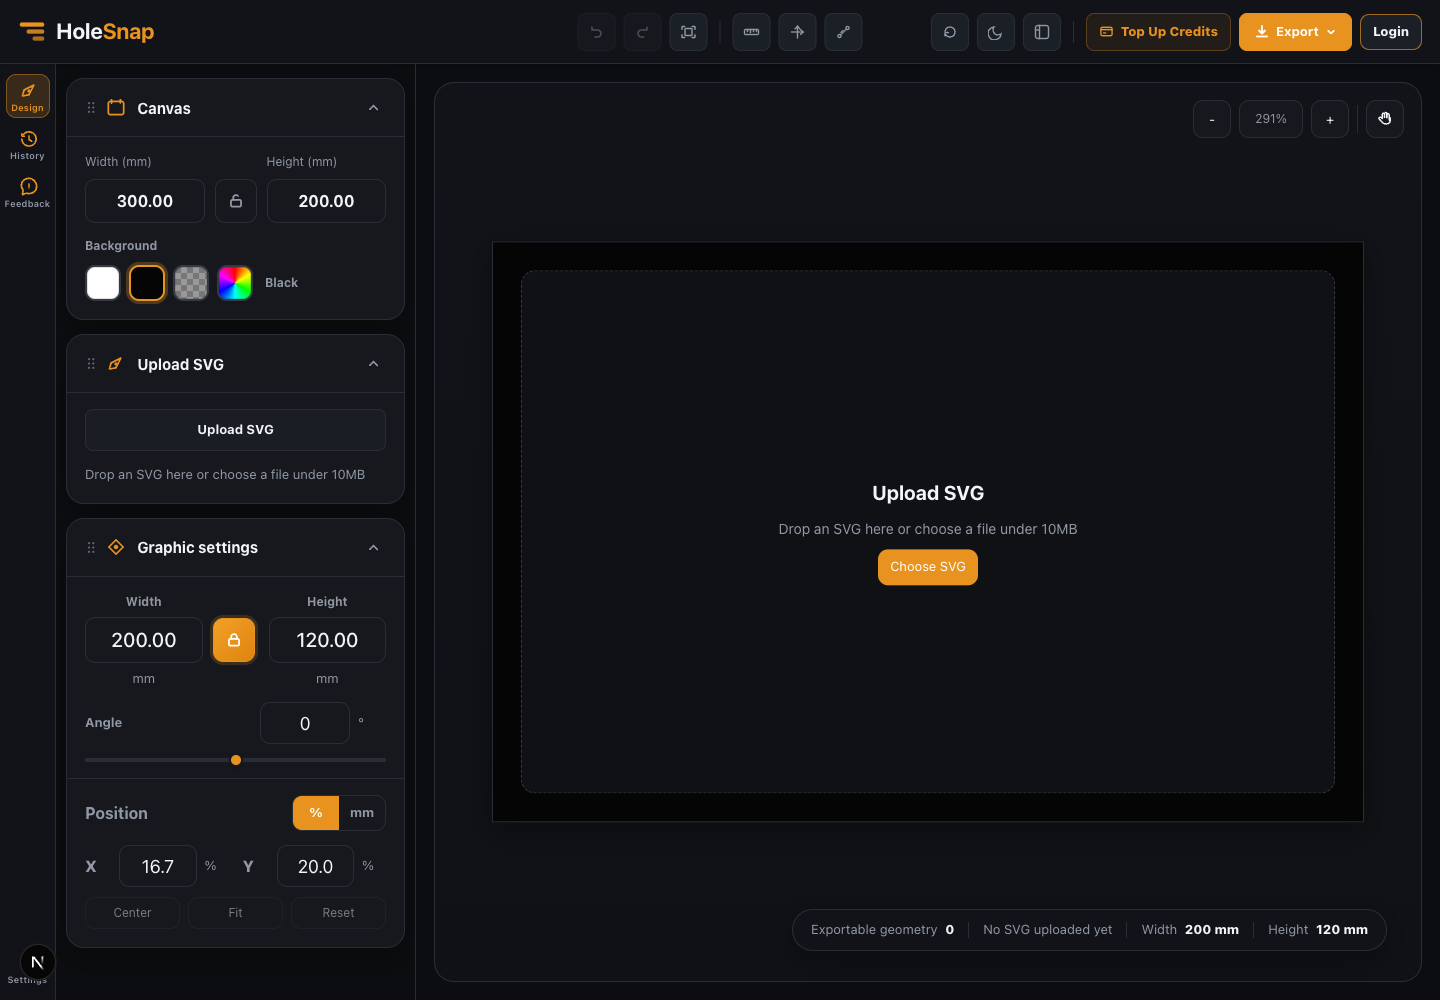
Upload One SVG and Review the Checks
Start by uploading an SVG file. The tool parses recognized geometry and shows export checks in the left panel.
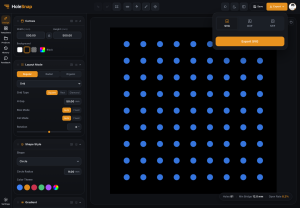
This matters because not everything visible in an SVG is usable as DXF geometry. A browser can display text, images, masks, filters, and gradients, but a laser cutter needs clear vector paths and shapes.
The workbench is designed to export recognized geometry such as paths, rectangles, circles, ellipses, polygons, polylines, and lines. If your design depends on live text or embedded bitmap images, convert those elements to paths first in your design software.
Resize Artwork Without Guessing Pixel Scale
One of the most common SVG to DXF problems is scale. A design might look perfect in pixels but import into CAD at the wrong physical size.
The workbench addresses this by letting you set canvas and graphic dimensions in millimeters.
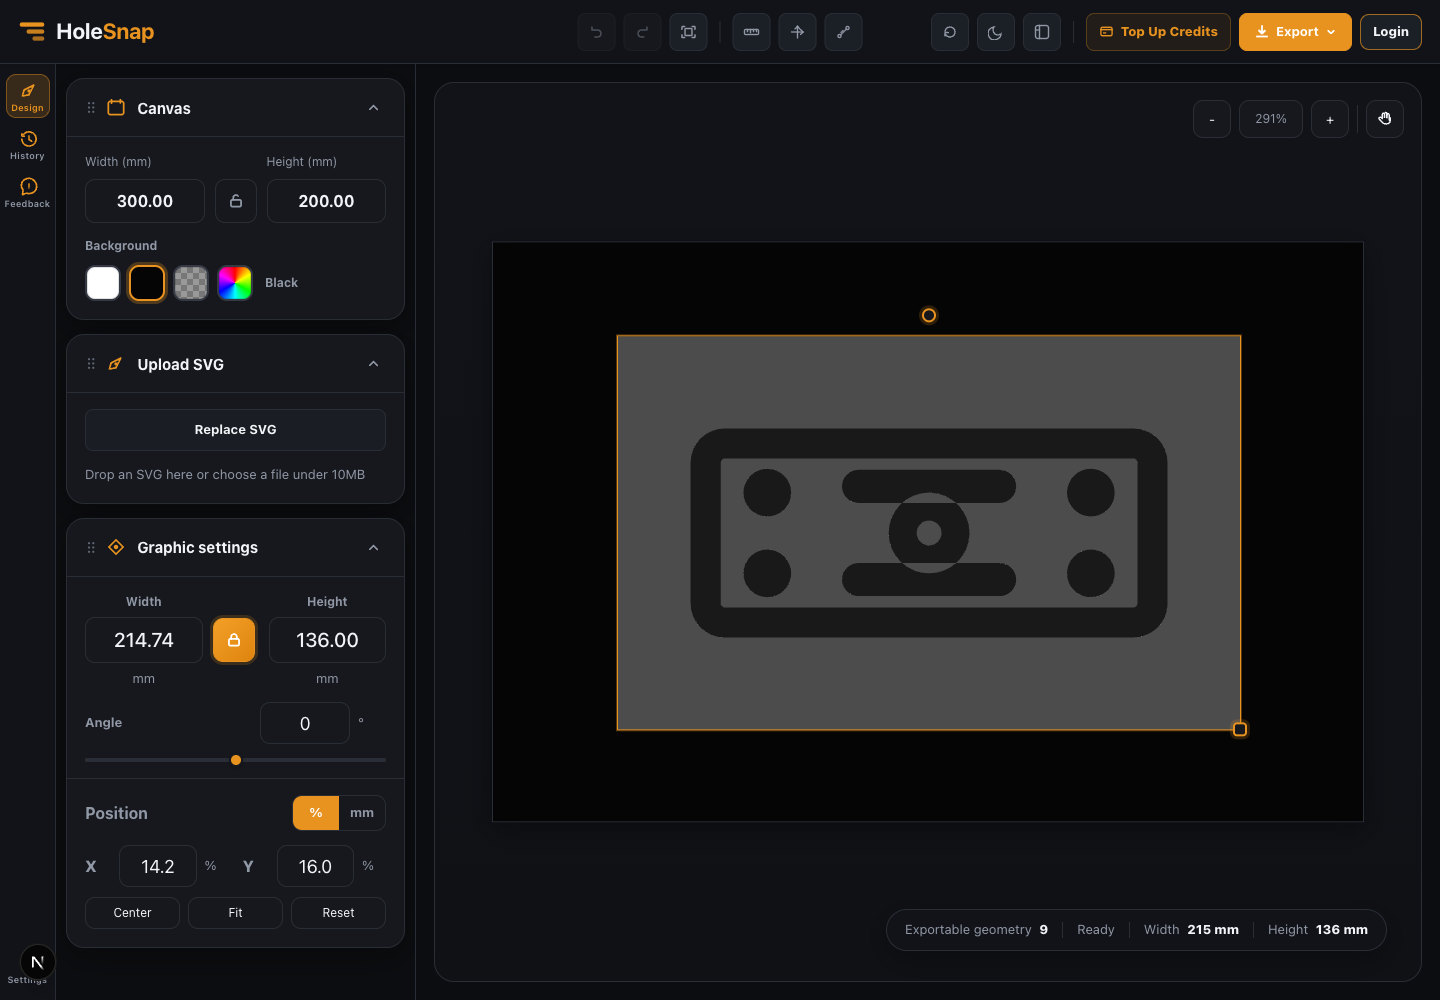
Use the canvas size for the part or stock boundary. Use the graphic size for the imported artwork itself. If the design should remain proportional, keep the aspect ratio locked while changing width or height.
For example:
- Set a 300 x 200 mm canvas for a small sheet metal panel.
- Fit a mounting bracket SVG inside that boundary.
- Center the SVG before export.
- Use the angle control if the part needs to be rotated.
This helps reduce the chance of exporting a DXF that is technically valid but physically wrong.
Inspect Placement with Rulers and Axes
Before downloading the DXF, turn on rulers and axes. This gives you a more fabrication-oriented view of the SVG on the canvas.
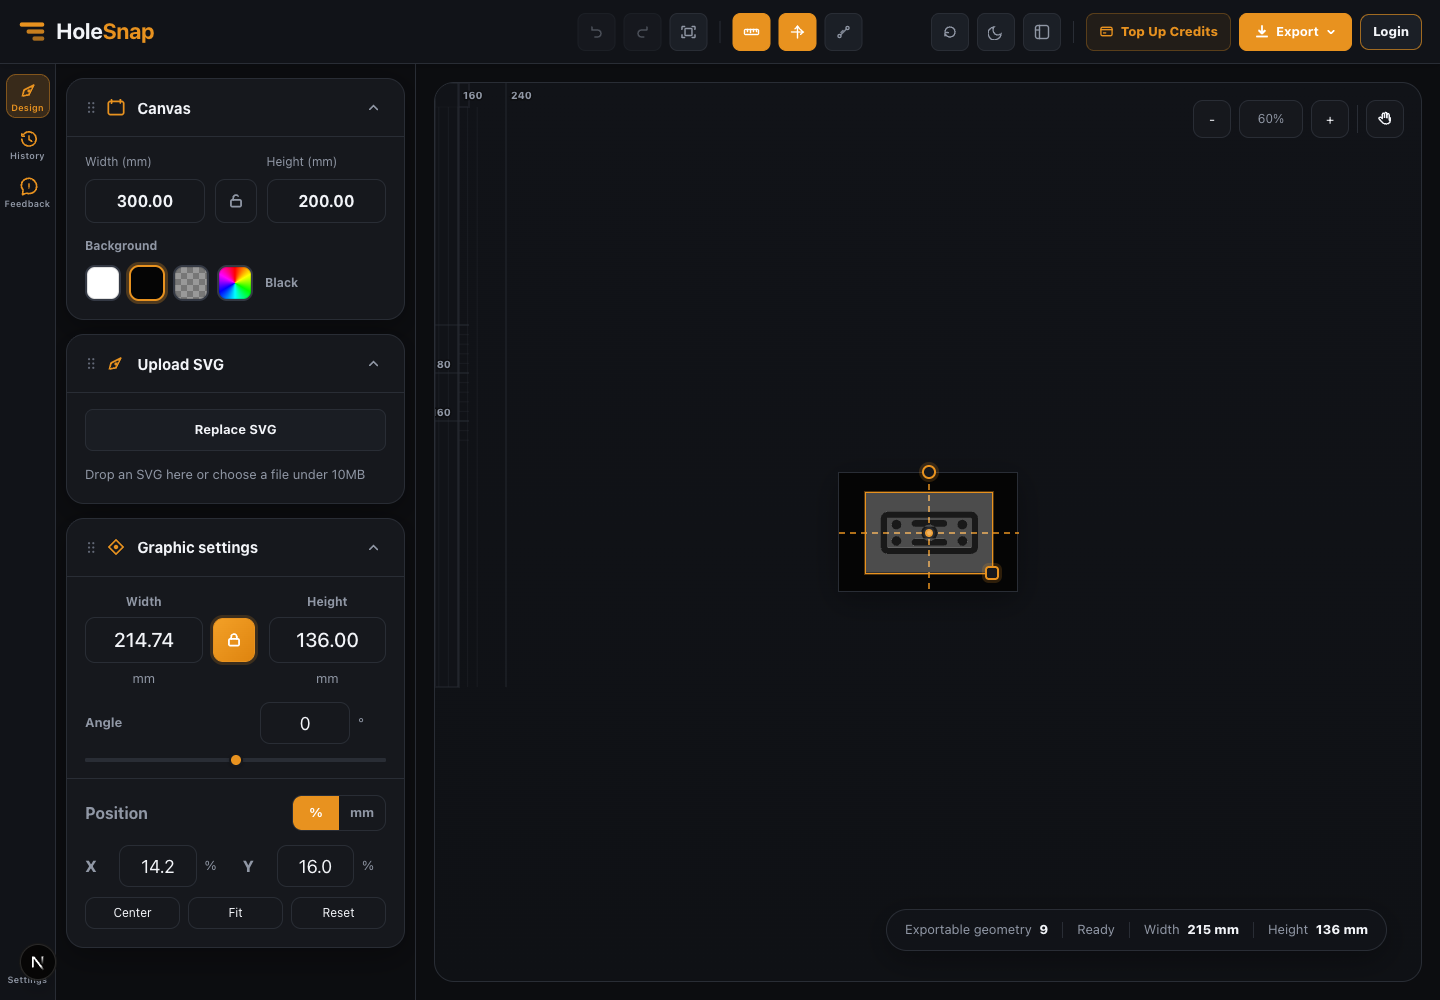
This view is useful for checking whether:
- The design is inside the cutting area
- The artwork is centered
- Important holes are away from the edge
- The part has enough margin
- Rotation and scaling look correct
Visual inspection is not a replacement for final CAD verification, but it catches the obvious mistakes quickly.
Export DXF for CAD/CAM Review
When the SVG looks ready, use the export menu to choose DXF.

The export menu shows the available formats and the daily free export quota. DXF is the format most users will choose for laser cutting, CNC, and CAD workflows. SVG export is useful when you want to keep a web/vector version of the adjusted file.
After downloading the DXF, open it in your CAD/CAM tool and check:
- Overall scale
- Units
- Closed contours
- Duplicate lines
- Tiny leftover path fragments
- Minimum spacing
- Cutting layer expectations
This final review step is especially important if the source SVG came from a visual design tool rather than CAD software.
Use History for Iteration
The workbench includes a History panel for snapshots and export workflow context. This is helpful when you are testing different sizes or preparing several versions of the same SVG.
For example, you might prepare one DXF for acrylic, another for aluminum, and a third version with slightly different dimensions. History makes it easier to return to a previous workbench state during that process.
Best SVG Preparation Tips
Before uploading to the SVG to DXF Workbench, clean the SVG as much as possible:
- Convert text to paths.
- Expand strokes if the stroke width represents geometry.
- Remove hidden layers.
- Avoid masks and filters.
- Flatten unnecessary transforms.
- Keep only cut paths, holes, slots, and outlines.
- Use simple closed geometry where possible.
A clean SVG usually produces a cleaner DXF.
Final Thoughts
The SVG to DXF Workbench is a practical bridge between design tools and fabrication workflows. It helps makers and designers upload SVG files, inspect recognized geometry, size artwork in millimeters, and export DXF online.
Use it for brackets, panels, enclosures, signs, decorative screens, and other laser cutting or CNC projects where you need a fast conversion workflow before final CAD/CAM review.
Try the tool here: SVG to DXF Workbench