How to Turn a Cat Photo into a Perforated Pattern: Image to Perforation Settings Guide
Use a cat photo to understand canvas size, image controls, pitch, hole diameter, density, layouts, and export checks in HoleSnap Image to Perforation.
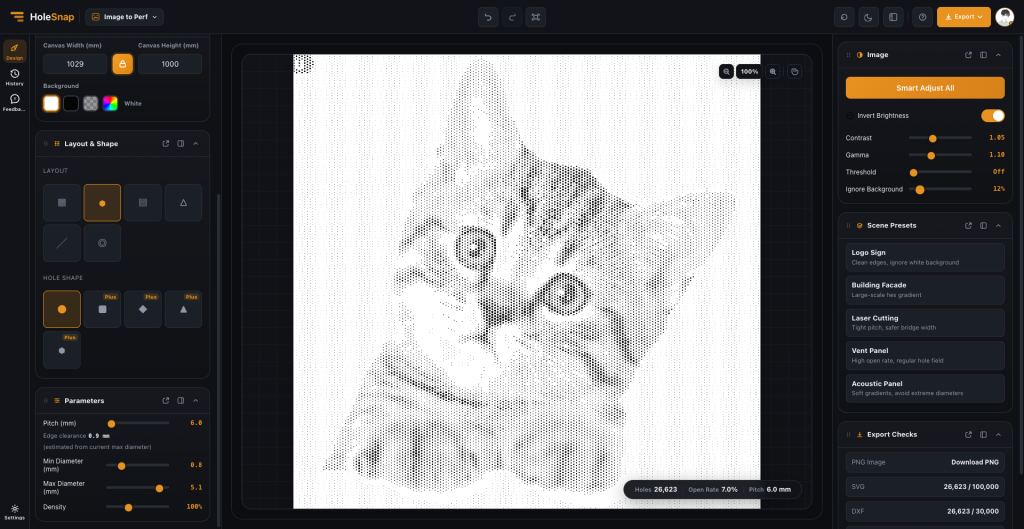
The goal of turning a cat photo into a perforated panel is not to preserve every pixel. The eyes, ears, face outline, and main light-to-dark relationships should remain readable through the hole pattern. HoleSnap’s Image to Perforation maps image brightness to hole diameter and is useful for pet portraits, decorative panels, and customized product surfaces.
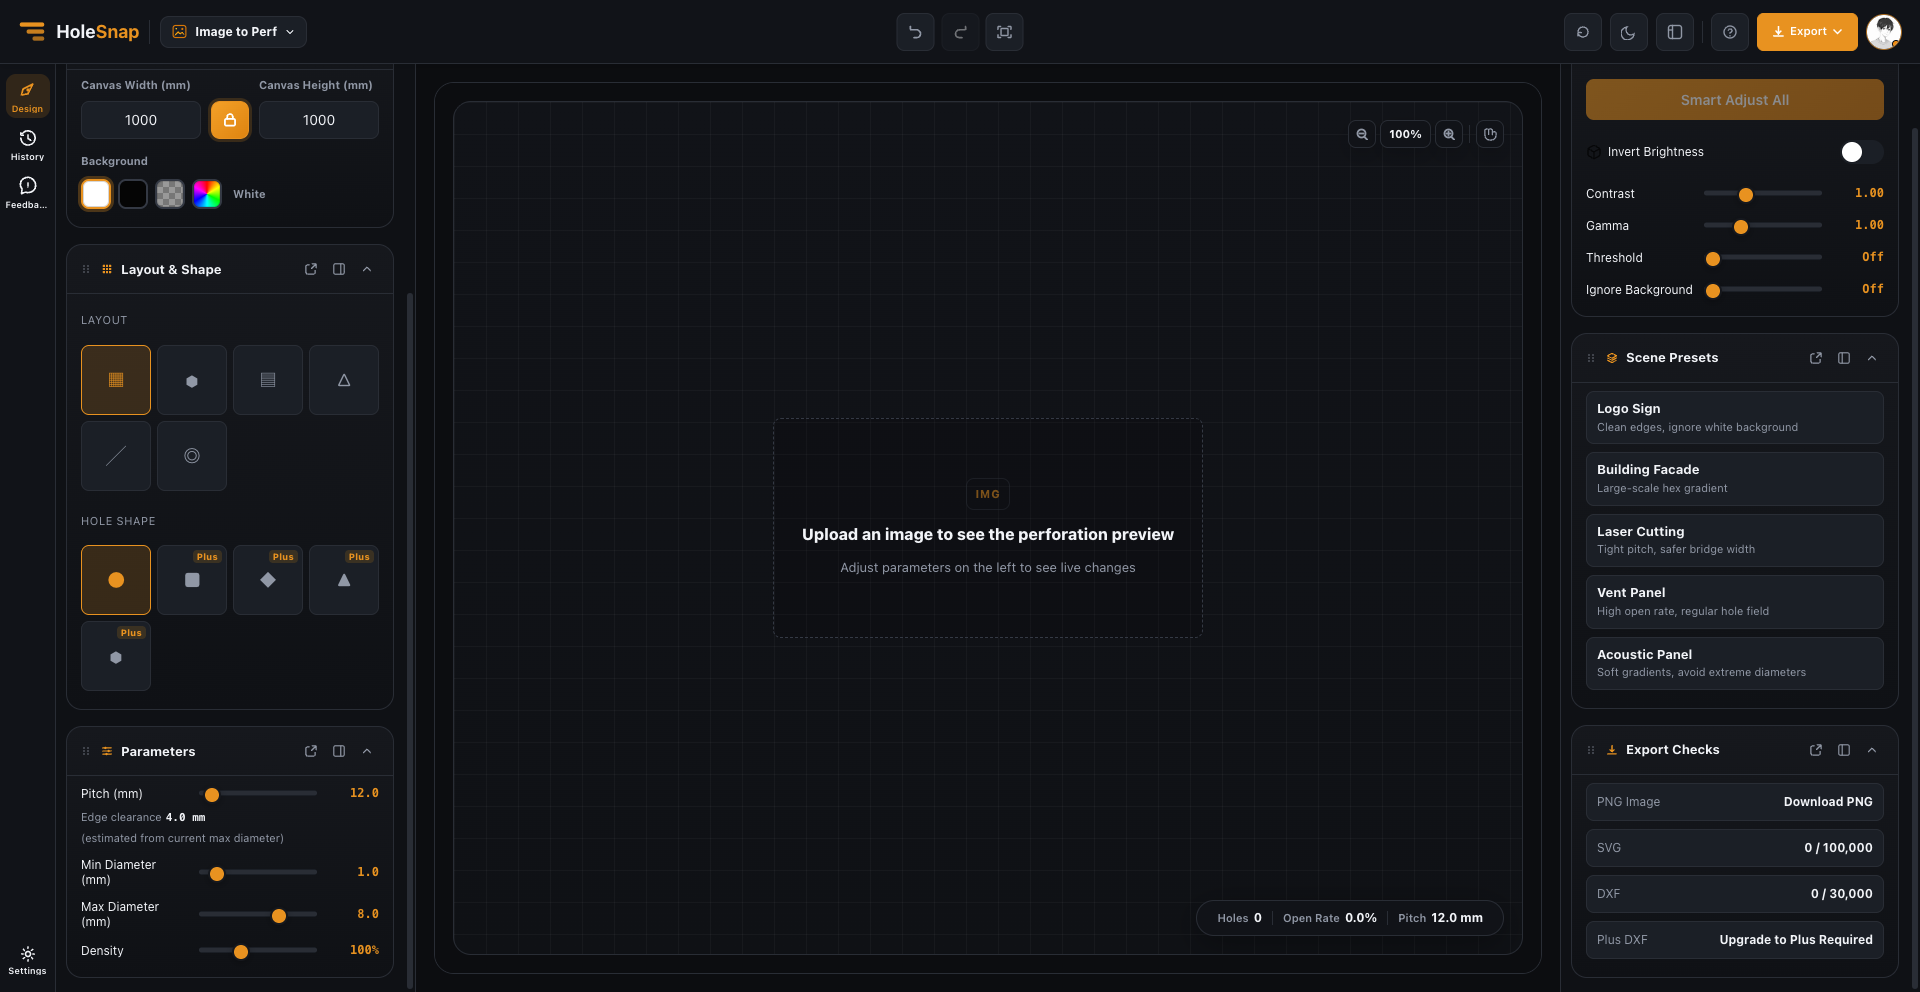
Start with the real panel size
The tool accepts JPG, PNG, and WebP files up to 10MB. A cat image with a clear subject, simple background, and visible contrast usually produces a cleaner result. If the background is busy, crop or simplify it before increasing the pattern density.
In Canvas, enter the actual panel width and height in millimeters, then lock the aspect ratio so the image is not stretched. A small pet plaque and a large wall panel will need different pitch and diameter settings, so do not treat one setup as a universal recipe.
Adjust the image before the geometry
In the Image panel, try the controls in this order:
- Contrast separates the cat from the background.
- Gamma brings out face and fur midtones.
- Threshold strengthens the silhouette, but can remove subtle detail.
- Ignore Background reduces unwanted background noise.
- Invert Brightness is useful only when the light-dark direction needs to be reversed.
Smart Adjust All is a useful starting point. After it runs, zoom in and check the eyes, ears, nose, and mouth. If those areas are already lost, improve the image treatment before adding more holes.
Balance pitch, diameter, and density
Pitch is the distance between hole centers. A smaller pitch usually preserves more detail but creates more holes and a more complex file. A larger pitch simplifies the pattern, but can remove small facial features.
Minimum and maximum diameter control the contrast range. Density controls how much information is retained overall. These settings should be judged together with the preview, hole count, open rate, and the material left between holes.
One cat example uses a 1029 × 1000 mm canvas, 6.0 mm pitch, 0.8 mm minimum diameter, and 5.1 mm maximum diameter. The preview shows 26,623 holes and a 7.0% open rate. Use this as a comparison point, not as a fixed production formula.
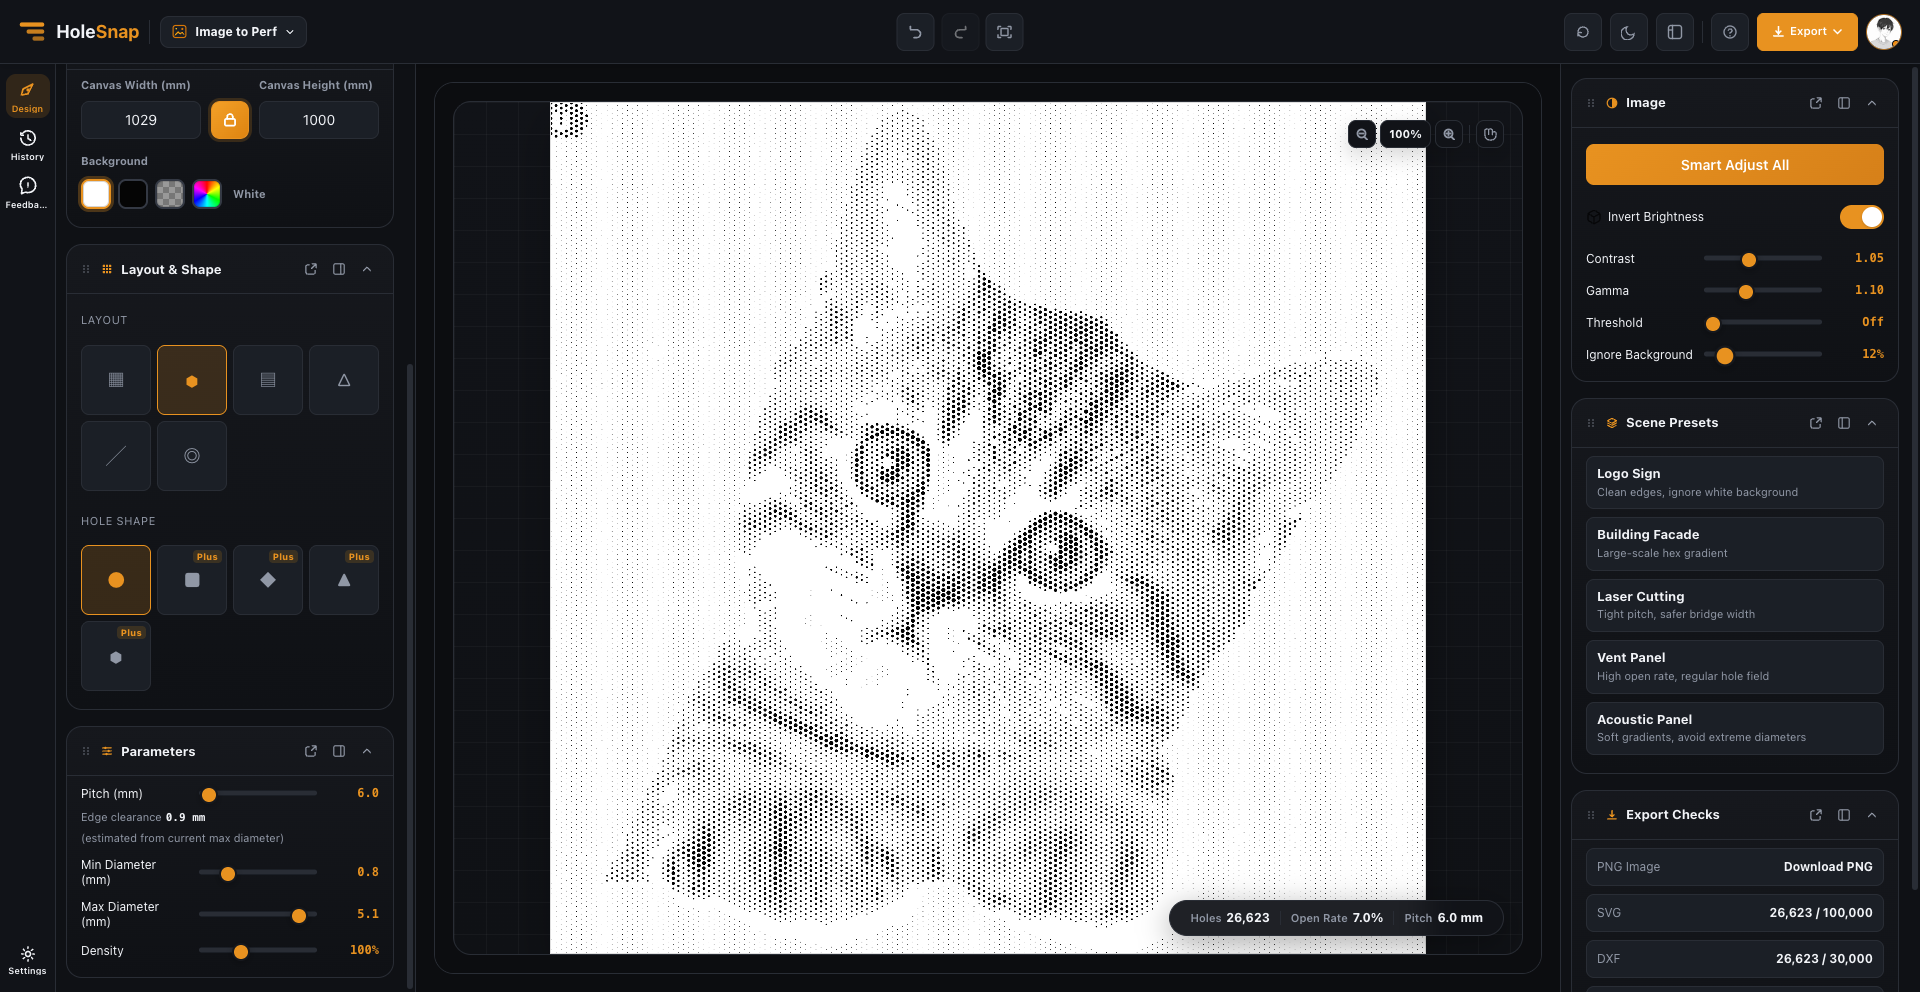
Choose a layout for the application
- Grid + Circle is a clear starting point for checking a pet portrait.
- Hexagonal or Staggered can make a decorative panel feel more continuous.
- Logo Sign suits a clean cat silhouette or personalized sign.
- Acoustic Panel is a useful starting point for a graphic surface concept.
For a pet portrait, make sure the subject is recognizable from viewing distance. For a decorative panel, compare hole shapes and layouts after the main silhouette is stable.
Check the export before fabrication
PNG is useful for presentations, SVG for vector editing, and DXF for CAD/CAM or early laser-cut preparation. Check the current account and page limits before exporting. In the exported file, verify units, scale, duplicate paths, closed geometry, minimum spacing, edge clearance, and equipment limits.
Image to Perforation creates the image-based geometry; it does not replace material, structural, acoustic, or fabrication validation.