How to Convert SVG to DXF Without CAD Software
Many designers and makers create vector files in SVG first. SVG is easy to edit, easy to share, and works well in tools like Figma, Illustrator, Inkscape, and Affinity Designer. But fabrication workflows often ask for DXF.
If you only need to convert SVG to DXF, you may not want to install or learn full CAD software. HoleSnap’s SVG to DXF tool lets you do the conversion online with a focused workflow built around scale, preview, and export checks.
Step 1: Prepare a Clean SVG
Before uploading, make the SVG as close to fabrication geometry as possible.
Good SVG files usually contain:
- Closed paths.
- Simple outlines.
- Circles, rectangles, polygons, and lines.
- Expanded text.
- Clean boundaries.
- No hidden layers.
Avoid relying on visual effects such as masks, filters, gradients, and embedded images. Those effects may look fine in a browser, but they are not the same as cuttable DXF geometry.
If your SVG contains text, convert it to outlines or paths first. If your design uses stroke width as the actual cut shape, expand the stroke before export.
Step 2: Upload the SVG Online
Open the SVG to DXF tool and upload your file. The workbench reads supported vector geometry and shows the design on a canvas.
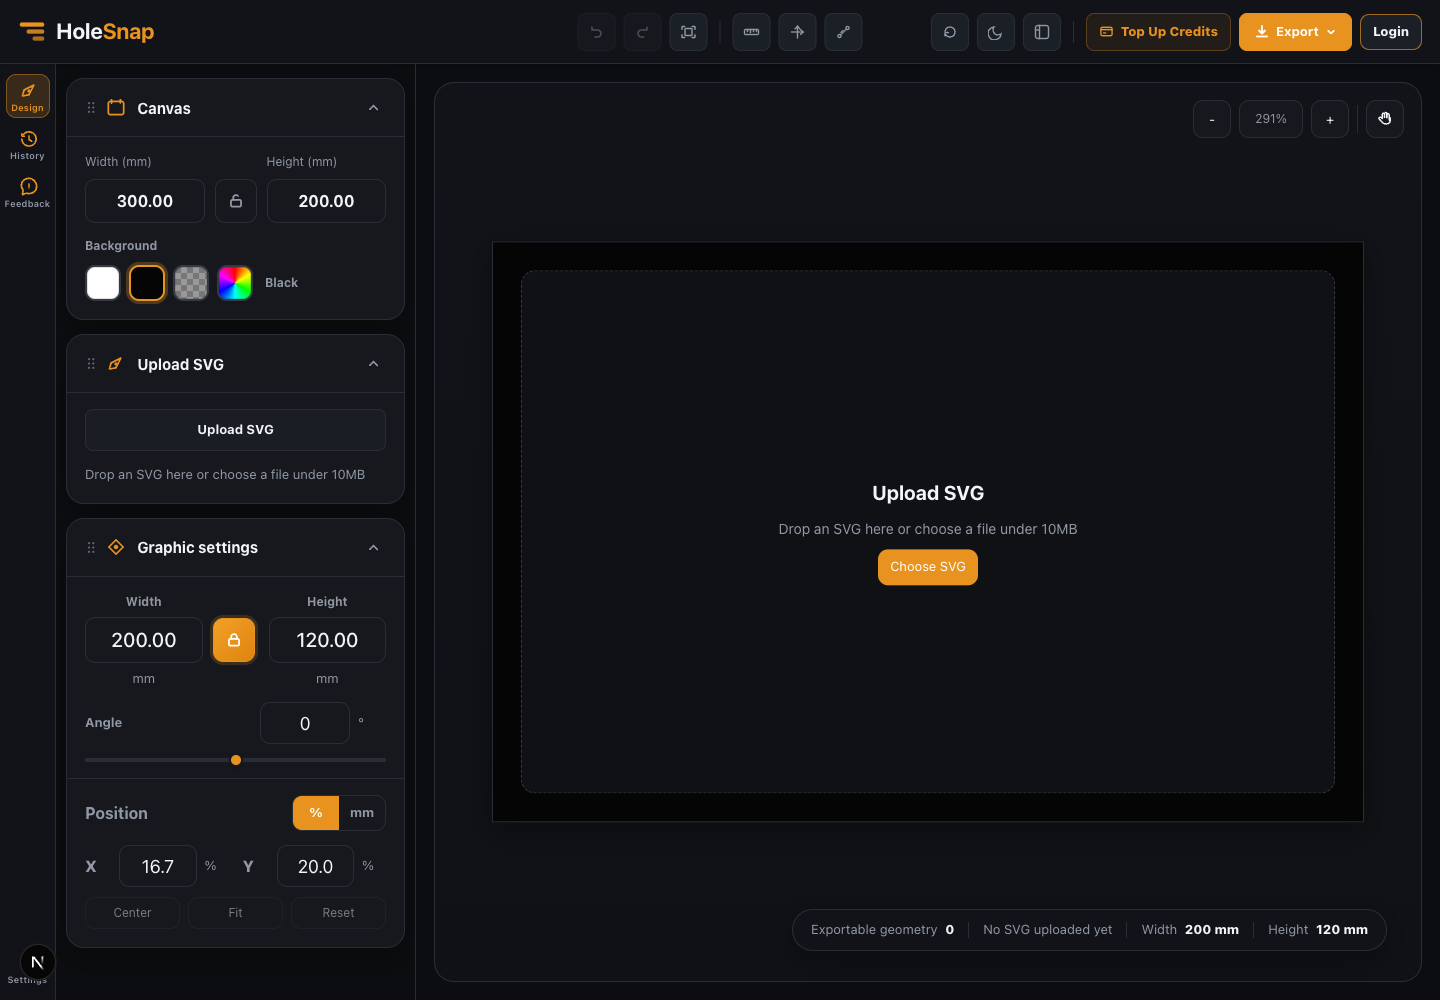
This gives you a quick way to see whether the file contains usable geometry. If important parts are missing, go back to your vector editor and simplify the SVG before trying again.
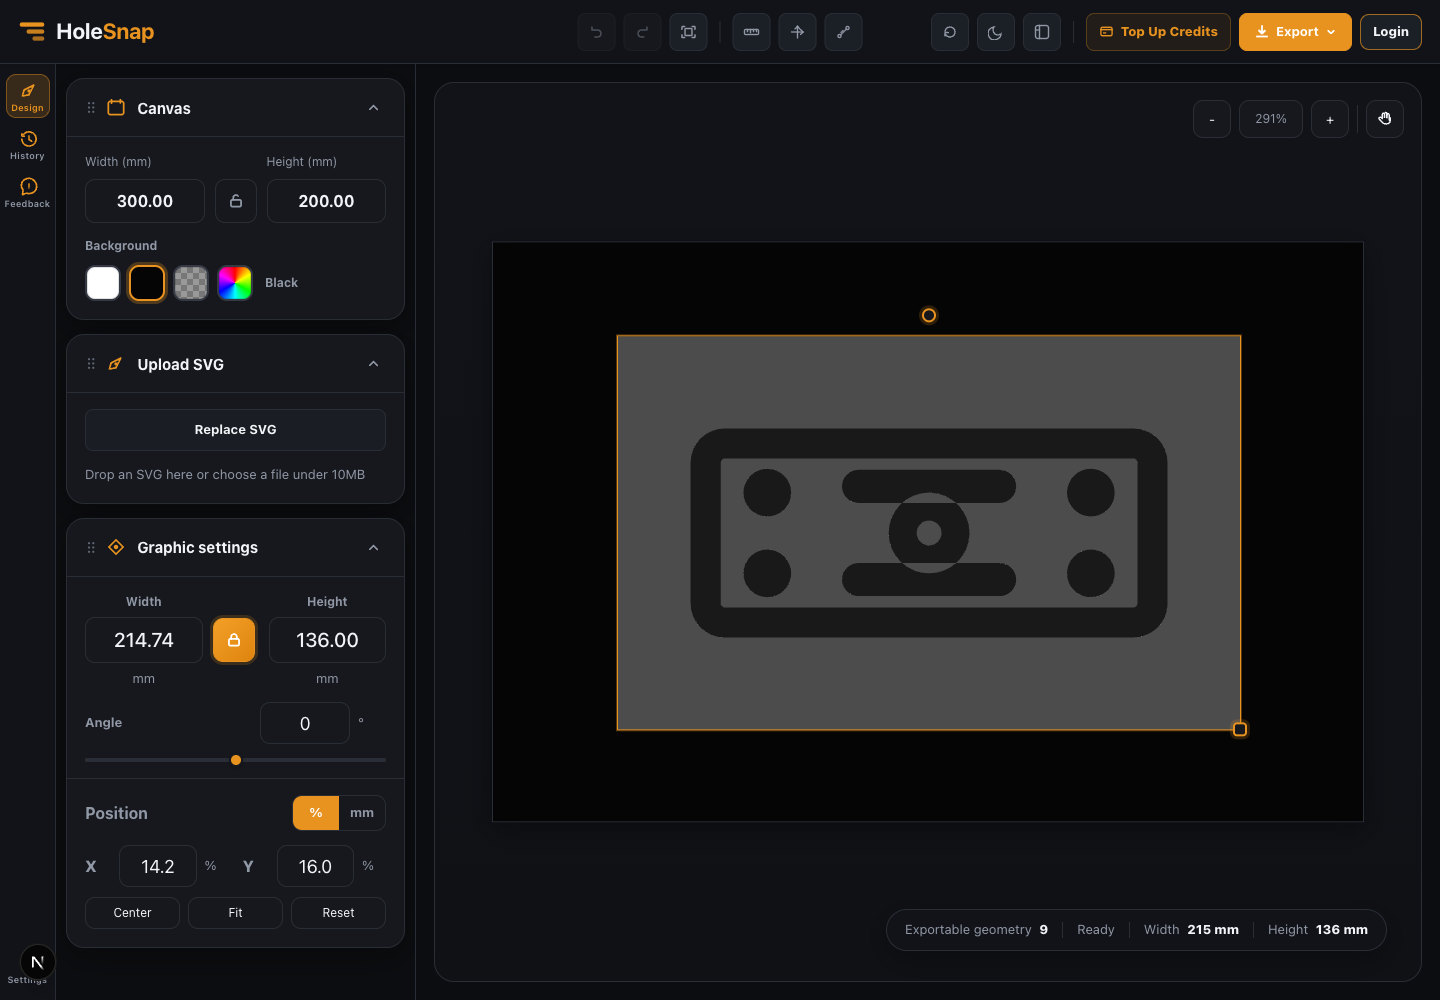
Step 3: Set the Real-World Size
The biggest reason to use a focused converter is scale control. SVG files often come from screen-based design tools, while DXF files are usually used in real-world units.
In HoleSnap, set the canvas and graphic size in millimeters. Use the aspect ratio lock if the design should stay proportional.

For example:
- A logo plate might be 160 mm wide.
- A front panel might be 300 x 120 mm.
- A bracket outline might need to match a known mounting distance.
- A decorative insert might need to fit inside a 600 x 400 mm sheet.
Do not skip this step. A file that exports successfully can still be wrong if it opens at the wrong size.
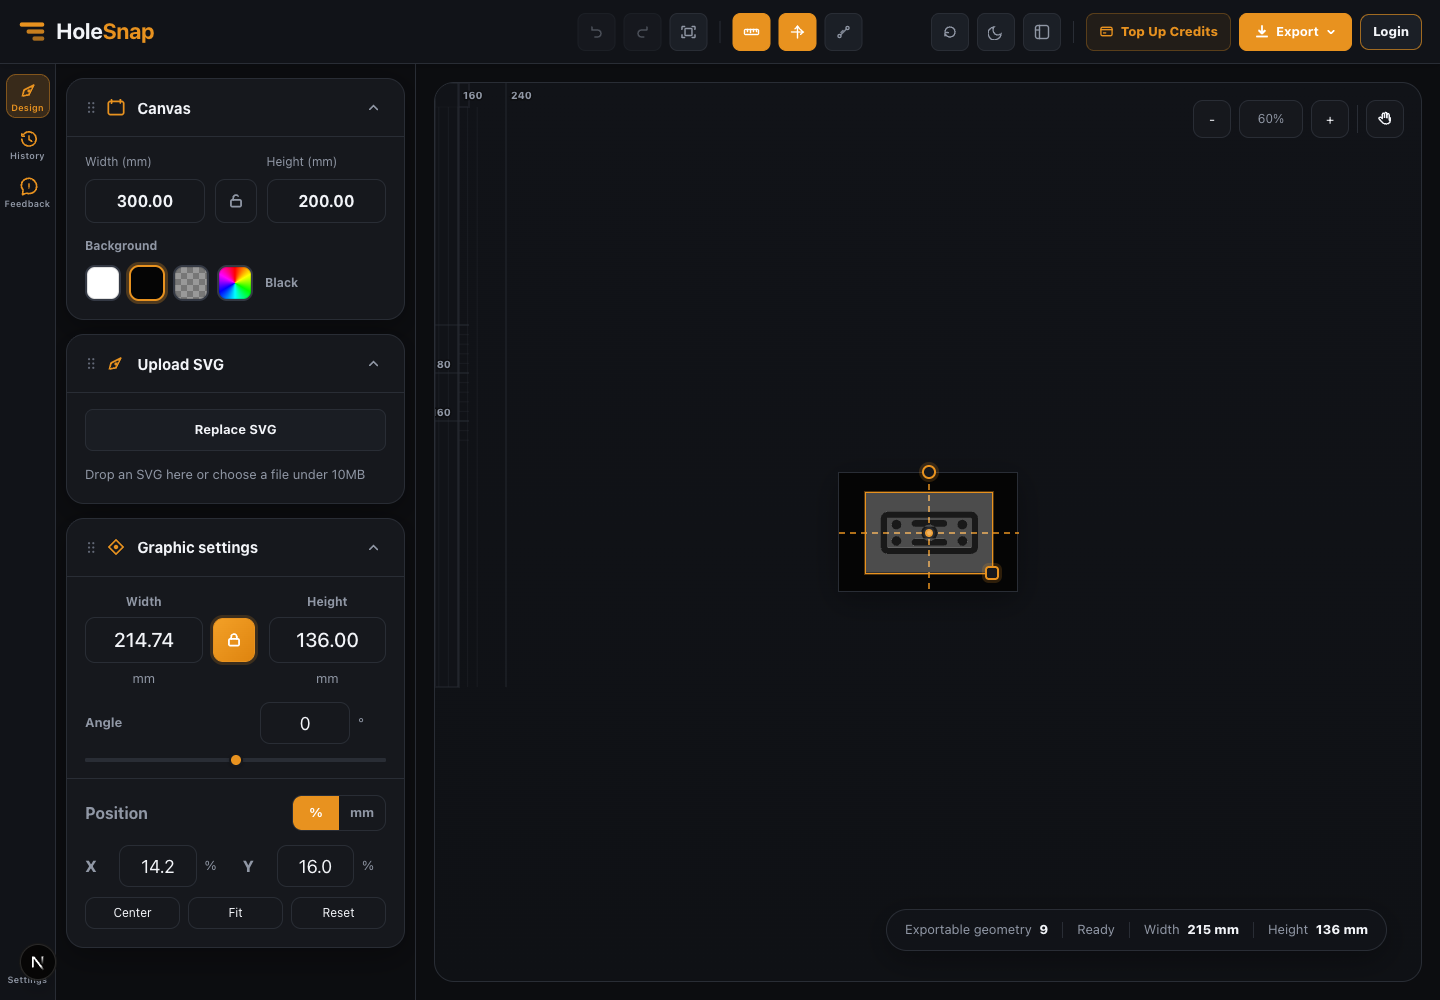
Step 4: Check Position, Rotation, and Margins
Once the size is set, inspect where the design sits on the canvas. Center it if needed, rotate it if the sheet layout requires it, and leave enough margin around the outside.
Use the ruler and axis view for a quick visual check.
Check whether:
- The design is fully inside the canvas.
- Important holes are not too close to edges.
- The artwork is centered or intentionally offset.
- Rotation did not move the design outside the work area.
- The bounding box matches the intended physical size.
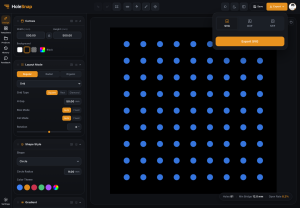
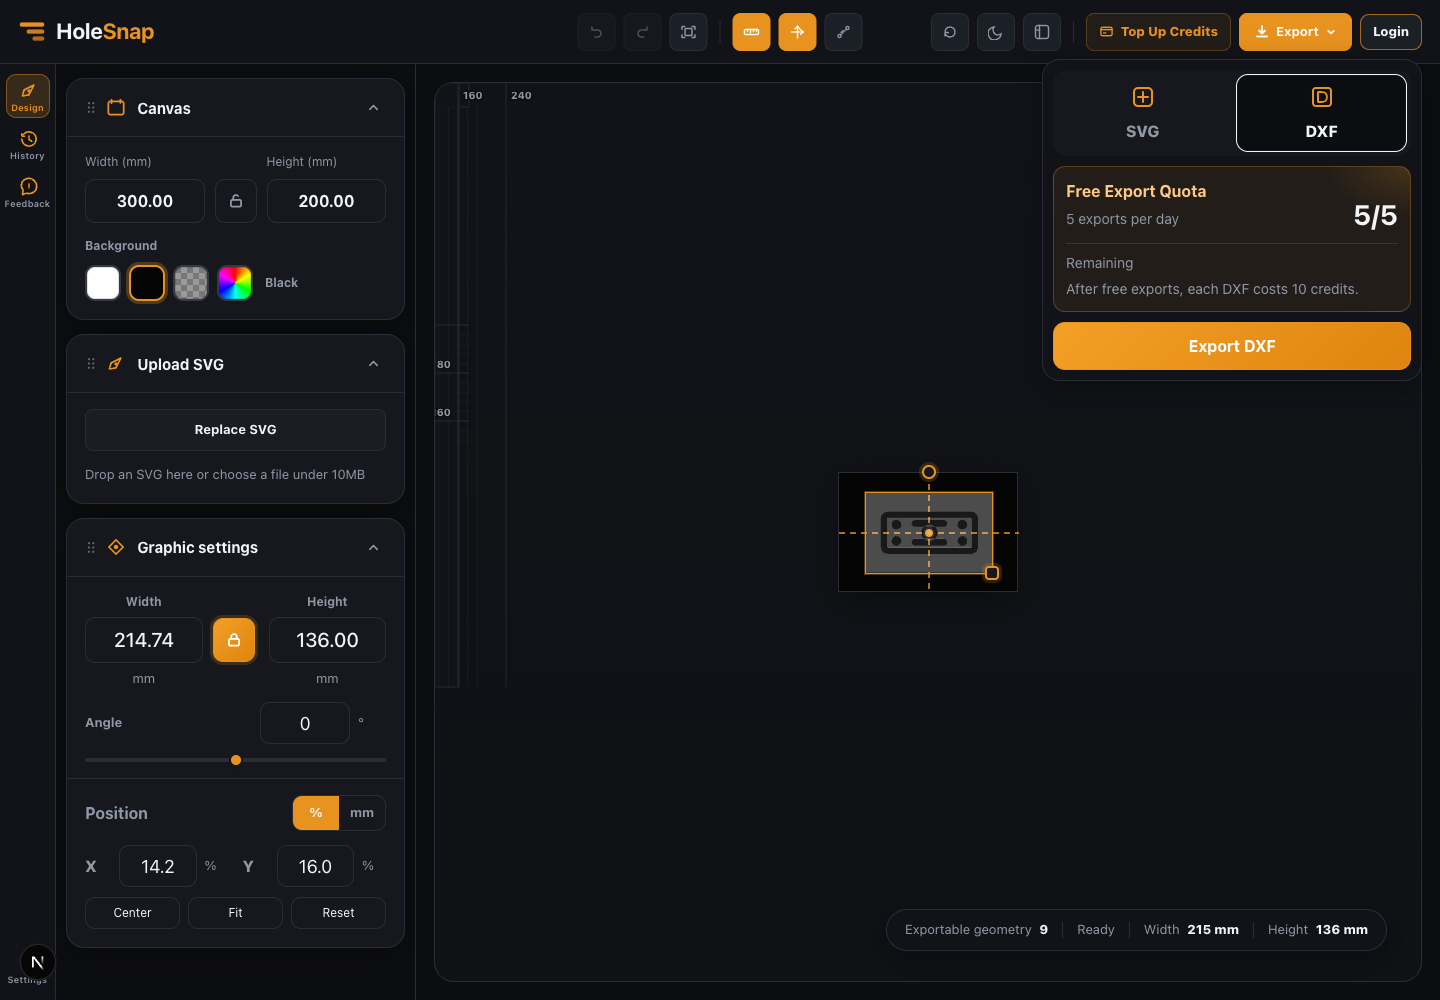
Step 5: Export DXF
When the preview looks right, open the export menu and choose DXF.
After downloading, open the DXF in your CAD/CAM or laser cutting software and confirm:
- Scale.
- Units.
- Closed contours.
- Duplicate lines.
- Minimum spacing.
- Cut path expectations.
This last review protects you from wasting material.
When This Workflow Works Best
An online SVG to DXF converter is a good fit when:
- You already have a clean SVG.
- You need a quick DXF for laser cutting or CNC.
- You want to size artwork in millimeters.
- You want a simple preview before downloading.
- You do not need to model a full 3D CAD part.
For complex assemblies or engineering drawings, CAD is still the right place to finish the file. For vector artwork, flat panels, signs, brackets, and simple cut files, an online converter is often much faster.
Try the Online Converter
Use HoleSnap’s SVG to DXF tool here:
It is built for designers, makers, and fabrication workflows that need a faster path from SVG artwork to DXF output.